One of the best pleasures of summer?
Fresh, flavorful fruits and vegetables!
If you eat in-season (which we highly recommend!), then you most likely love this incredible summer produce even more because you know there is a relatively short window of opportunity. But what if we told you that you can enjoy these flavors year-round…even in the dead of winter?
You can!
Whether you want to enjoy the flavor of a juicy peach in the middle of January when the post-holiday winter blahs are in full swing…or include some flavorful summer corn or Hatch chilies in that comforting winter soup, you can preserve the flavors of summer when they are at their peak of freshness!
There are lots of ways to preserve fruits and vegetables, and a super easy method is FREEZING! (Canning is also a great option, although a little more time consuming). Freezing produce at its peak will also help retain most of its nutrients. It’s also cheap, quick and easy — much less time consuming than some of the other options!
Many fruits and vegetables are welcome in the freezer!
You don’t have to worry about special preserving methods, but you also don’t want to just throw a bunch of random fruits and veggies in the freezer — here are a few things to keep in mind:
- Quality matters! Don’t freeze anything you wouldn’t eat right now! Unfortunately, freezing does not improve quality.
- Prevent the burn. You can use freezer bags to prevent freezer burn. You can also use mason jars if you are trying to avoid plastic. You may even be able to find plastic freezer jars (made by Ball) that are BPA free. Just remember…if you use glass mason jars, leave some expansion room — you don’t want your jars exploding in the freezer!
- Think about quantity. When you freeze produce, it is much easier if you think about portions you will use later on. For example, freeze chopped peppers in one cup increments. This makes it more convenient when you go to thaw and use them in your recipe.
 Label it! It may be completely obvious what it is now, but it could be a mystery when you pull it out of the freezer in 3 months.
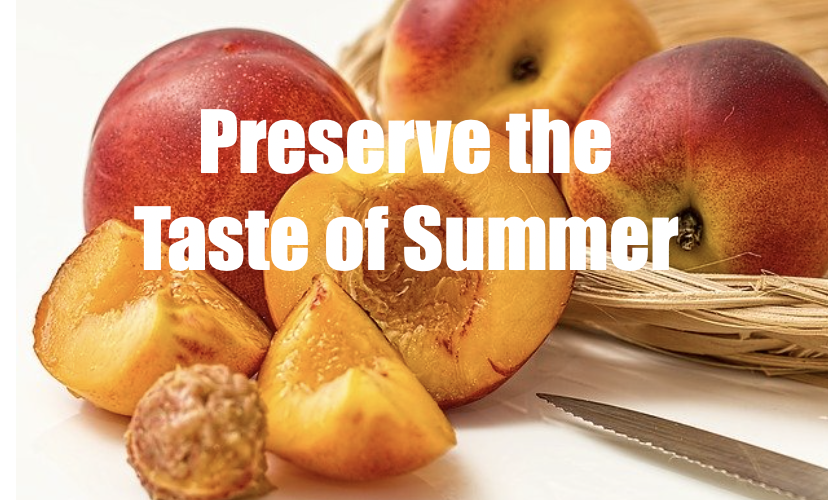
- One of our favorite tips…freeze individually first! This tip works great for lots of produce, especially berries, peaches, and nectarines. Place the individually cut pieces (removing any pits) in a single layer on a baking sheet (lined with parchment paper if desired), freeze until frozen and firm, and then transfer to freezer bags or jars. This will save you time and headaches later on…we can tell you from experience, having to chisel a clump of peach slices apart is no fun!
 Get the air out. To preserve the freshness, before closing your freezer bags, get as much air out as possible, and then seal them. Of course, you can use a vacuum seal, and an inexpensive option is to use a drinking straw and suck the air out!
- Buy in bulk. Take advantage of bulk discounts and stock up! Don’t hesitate to go to the farmers’ market and ask the farmers if they offer bulk discounts if you buy a larger amount. Many will be willing to work with you — after all, they may not want to haul everything back to the farm!
- Pesto and tomato sauce are freezer friendly! Make big batches of pesto or tomato sauce and freeze them in jars or cupcake tins (or ice cube trays work extremely well for pesto). You could make the Sunday Sauce Inspired by Lidia with fresh tomatoes, and then freeze for great-tasting, quick & easy weeknight meals.
Keep your fresh herbs frozen in “thyme” too!
 When preserving herbs, there are several options including:
- You can freeze the individual leaves in plastic bags (you can freeze individually first…to avoid the dreaded clumps later).
- Dry them in the oven.
- Our personal favorite…wash, dry, chop and place in ice cube trays (with a little water).
Zonya says:
Every year, we used to grow and harvest bags full of multi colored sweet peppers. (Now we just buy them by the bushel from farmers since we no longer have a garden.) We chop them up and put them in a large Ziploc bag, and then place them in the freezer (no blanching needed). We set our timer for 10 minutes. When it goes off, we reach in and shake the bag. We keep doing this every 10 minutes until they are frozen. Throughout the winter, we are able to shake out the amount we need without it being in a big clump, and we don’t have to put into individual bags. So easy! We do the same with chopped onions to save even more time all winter long. Do this and your spaghetti sauce, chili, stir-fry, omelettes and more become “lickety-split!”
Blanch those vegetables!
Blanching is a cooking method where you place vegetables in boiling water for a very short time, and then immediately place them in a bowl of ice water (called an ice bath) to stop the cooking process. Blanching vegetables before freezing locks in the freshness and flavor. It does this by destroying enzymes that contribute to vegetable decay. If you have ever frozen spinach or eggplant and pull it out and you have an unappetizing dark brown mess, you know what we mean. We have frozen corn on the cob without blanching and it worked well, but blanching before freezing would make it even better. Fruits don’t need to be blanched before freezing. For vegetables, while it is not required, most veggies will benefit from it.
Here are some recommended blanching times of some popular vegetables. Remember…after blanching, dry the vegetables and try to get most of the moisture out. Moisture can mean mushy vegetables later. (The University of Missouri has useful blanching tips and times for lots of other vegetables too.):
 Green Beans: 3 minutes
- Corn on the Cob: 6 minutes
- Eggplant: 2 minutes for diced, 4 minutes for slices
- Greens: 2 minutes
- Okra: 3 minutes
- Sugar Snap Peas: 2 minutes
- Peppers: can go without blanching or 2 minutes if sliced
- Summer Squash: 3 minutes for 1/2 inch slices
- Zucchini: 3 minutes for 1/2 inch slices
- Tomatoes: 30 seconds, remove the skin and freeze whole or in pieces (tomatoes will be a mushy consistency when thawed, so it is best to use in cooking and works perfect for soups, stews or sauces).

Keep in mind, there are a few fruits and vegetables that don’t freeze well! It is not recommended that you freeze cabbage, celery, cucumbers, radishes, and lettuce, because they will typically be soggy, limp and water-logged after freezing.
We hope this helps you preserve a little summertime!
And, most importantly…don’t forget about these preserved treasures in your freezer — then you can enjoy small bursts of summer flavor in your meals year-round!
Leave A Comment