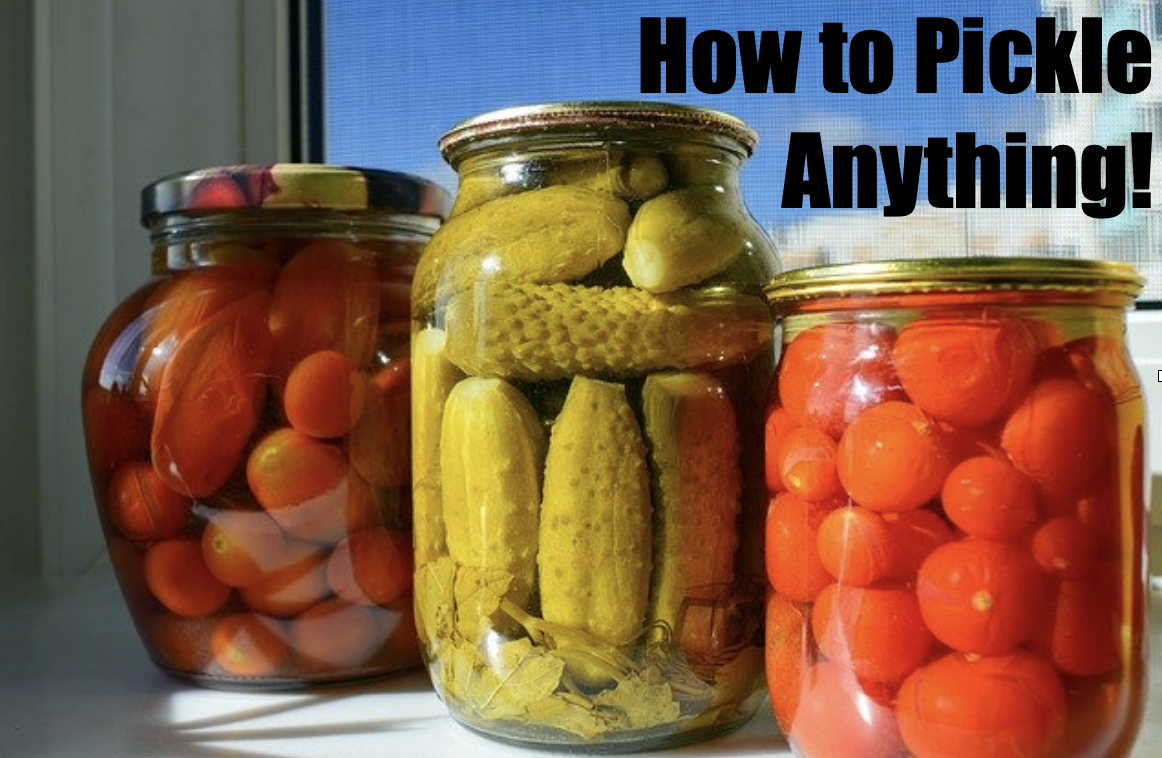
Do you…
love the crisp taste of pickled vegetables, but wish they weren’t quite so salty? Or, do you wish you could avoid the questionable ingredients you see on those jars of pickled vegetables?
Does the thought of pickling our own vegetables intimidate you? It did us! The whole canning process seems difficult to find time for in our busy schedules. So, when we discovered quick pickling…suddenly, a whole new world of opportunity opened up!
Quick pickling!
 It is super-easy and all you need is vinegar, water, salt and sugar…and, of course, some glass jars and a refrigerator! It’s a fantastic way to enjoy fresh in-season fruits and vegetables that are so abundant this time of year! Quick pickling is a little like marinating and uses vinegar to provide the acidity to cure the vegetables, creating amazing flavor and texture. Although, unlike canning, quick pickling requires no special canning equipment or processing. Since the vegetables are not shelf-stable, it is important to refrigerate your jars once you get everything put together.
How do you pickle?
First, add vegetables or fruits (yes, you can even pickle fruits) to a glass jar or container. Mason jars work great! Then, add your choice of herbs and seasonings. Tightly pack your produce and seasonings into the jar, leaving ½ inch of space at the top.
Next, make your brine…or the pickling liquid.
Start with this basic formula:
1 cup vinegar + 1 cup water + 1 Tbsp kosher salt + 1 Tbsp sugar
- Add this to a small saucepan and bring it to a boil until the salt and sugar dissolve.
- Then, pour the liquid into the jars so your veggies (or fruits) are completely submerged. We like to use two pint size mason jars (or you can use a larger quart sized mason jar).
- Allow the mixture to cool to room temperature (about 1 hour), seal the jar(s) or container(s) with an air-tight lid, shake the jar to evenly distribute the liquid and seasonings, and place the jar(s) in the fridge.
- It is best to let the jar sit in the fridge for at least a day before eating, but you can certainly tap in sooner if you just can’t help yourself. Use your judgment on when they have reached your desired texture and flavor. Your quick-pickled veggies should last 2-3 weeks, or up to a month, in the fridge (although ours never make it that long)! Enjoy!
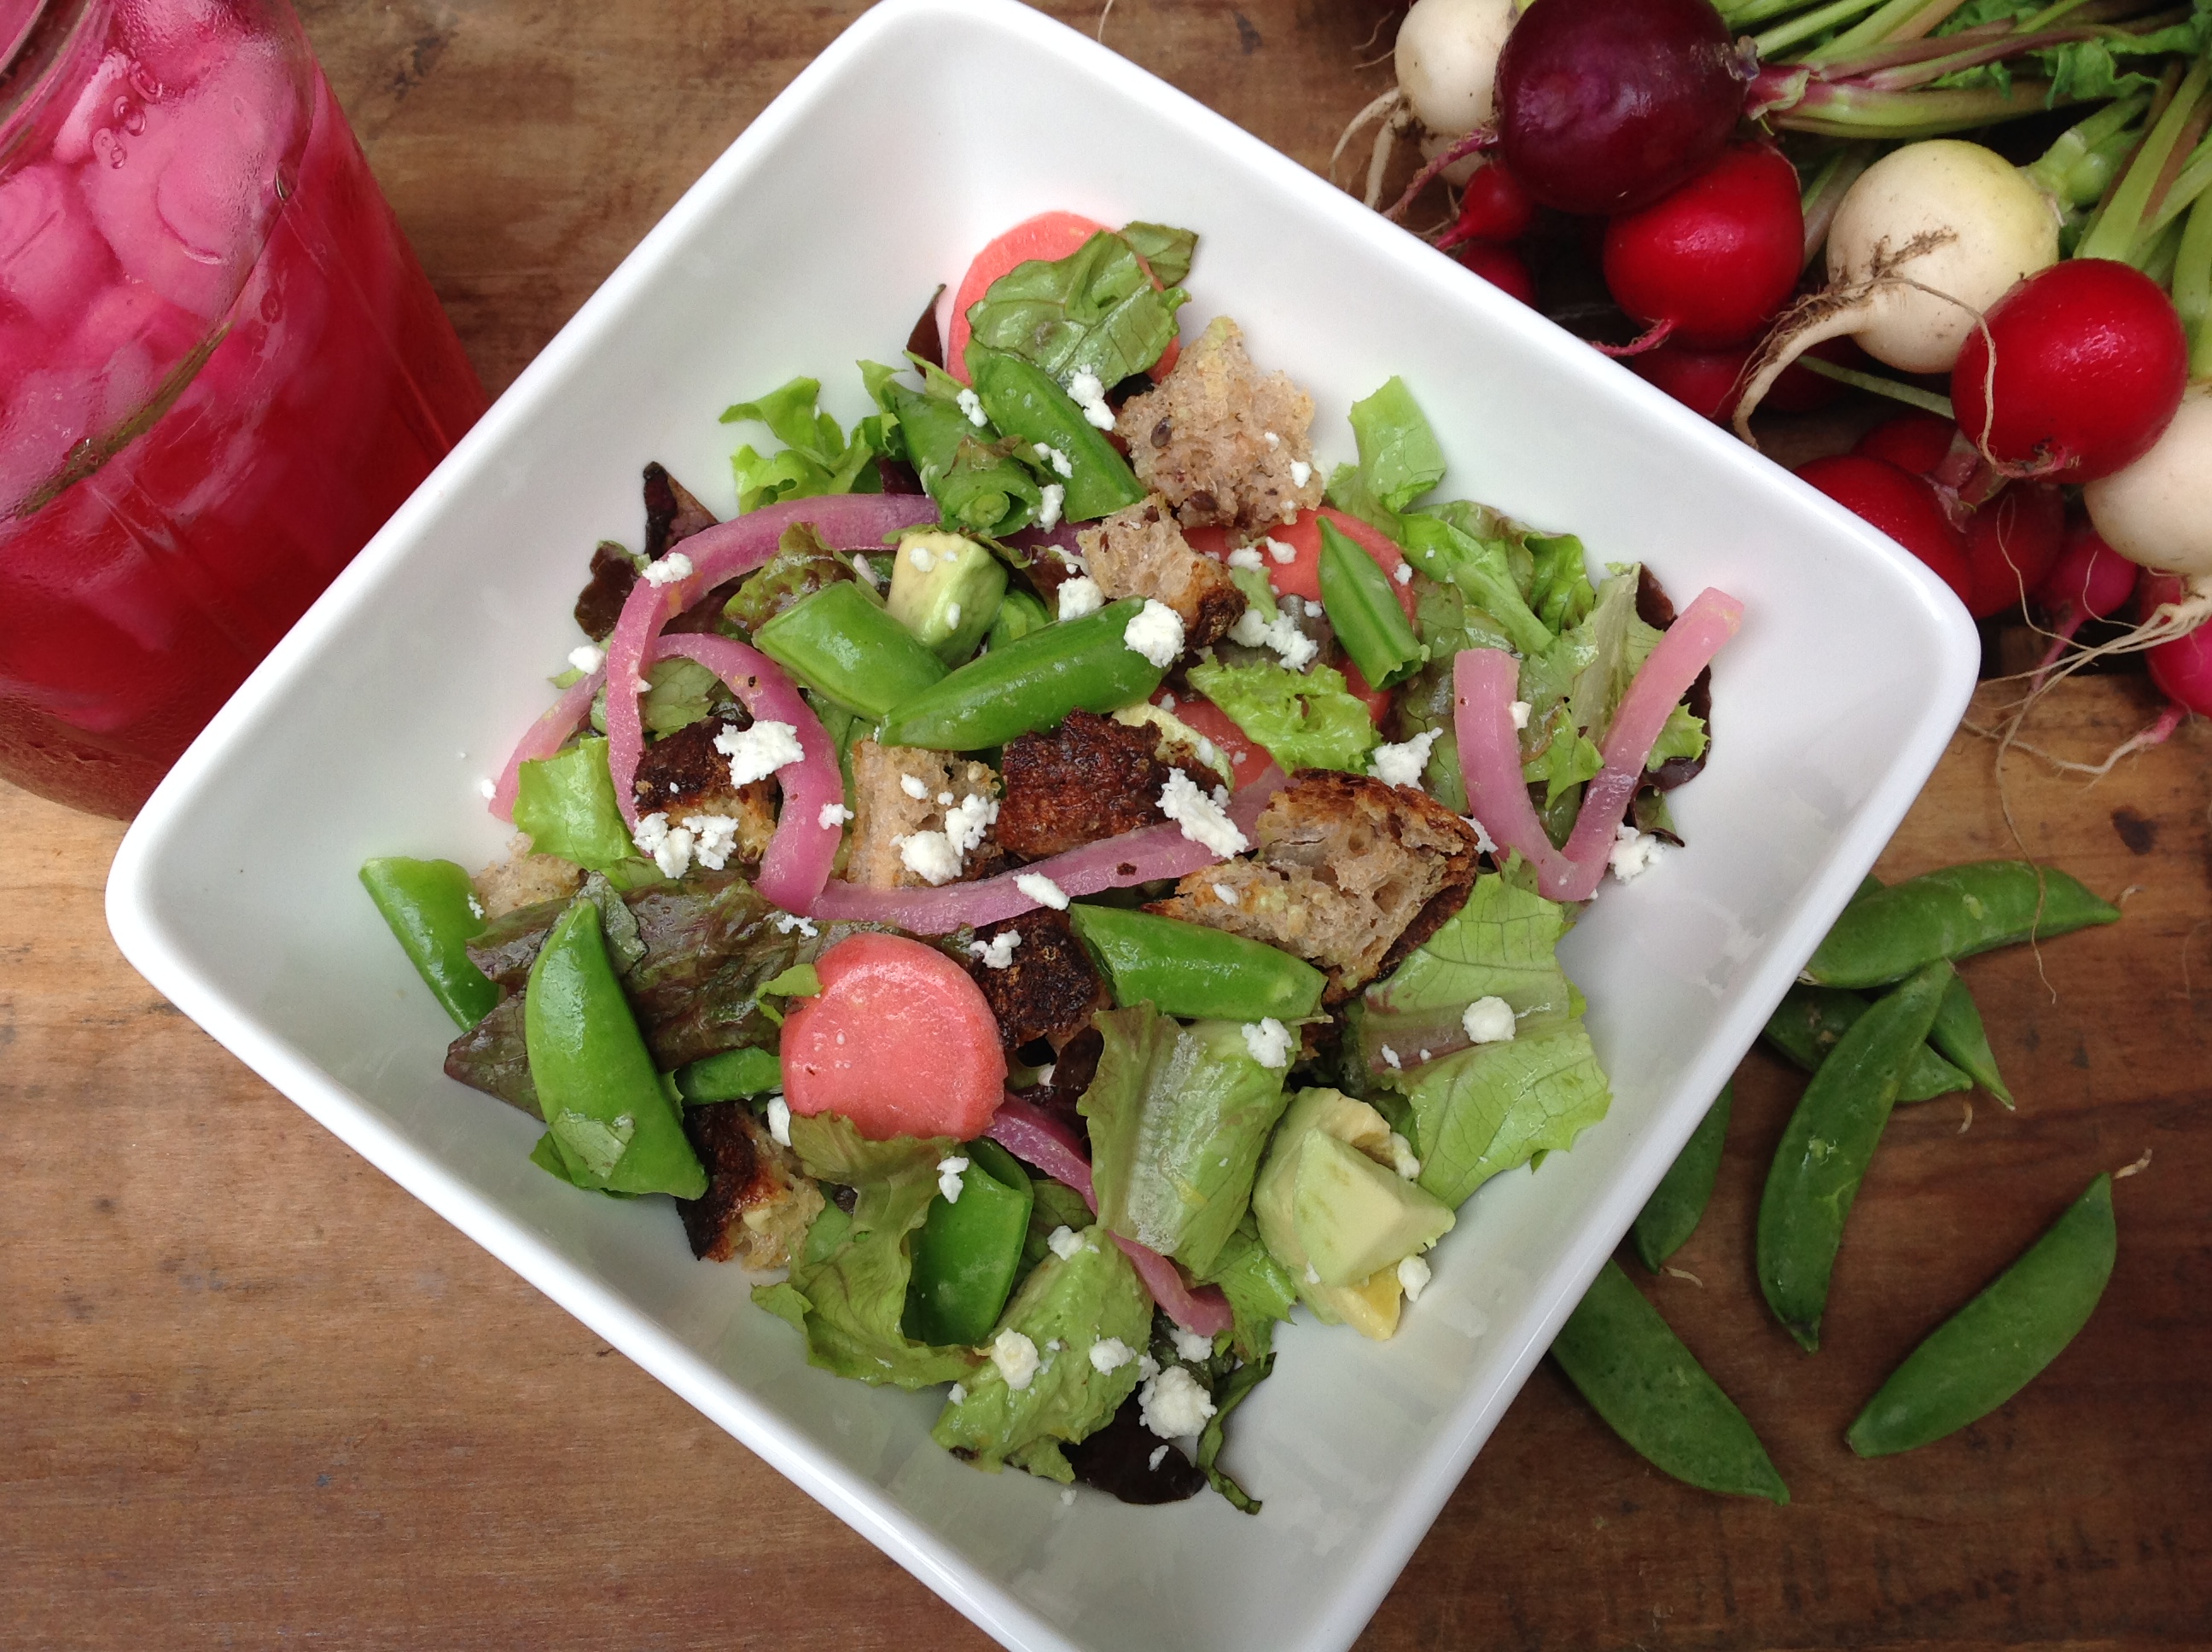
Check out our video to see how easy it is to quick pickle and make a Panzanella Salad!
Does it matter what kind of vinegar and salt you use?
It can be fun to experiment with different types of vinegar. It’s best to use vinegars that have at least 5% acidity…the label should tell you the acidity content. We like distilled white vinegar because it allows the flavor of the produce and seasonings to shine through. Apple cider vinegar and white wine vinegar are good options, but you will notice they add a different flavor. Red wine vinegar is another option, but keep in mind it may turn your veggies pink. We sometimes use red wine vinegar when pickling red onions for a vibrant color and flavor.
When it comes to salt, it is best to use kosher salt or pickling salt. Just make sure it doesn’t have any additives like iodine or anti-caking agents. Iodine can turn your vegetables dark and bitter and anti-caking agents can turn your liquid cloudy. Also, sea salt is not the best option due to its naturally occurring minerals that can affect your results.
Here are some other tips:
 Include herbs and spices! Just like with the vinegar, it’s fun to experiment with different seasonings. Mustard seeds, peppercorns, and bay leaves are the most classic additions. You can also include sliced garlic cloves, cumin seeds, rosemary, coriander, allspice, fennel seed, or celery seed, just to name a few. It is best to use fresh or whole spices because ground or powdered spices can turn your liquid cloudy. Try fresh basil, dill, mint or other fresh herbs also!
- Blue garlic? Don’t worry if you included garlic cloves and they suddenly appear blue or bluish-green. This has to do with the reaction of enzymes and sulfur compounds in the garlic…and the acid in the vinegar can also contribute to the color change. Absent any signs of spoilage (like mold), the blue garlic should be safe to eat.
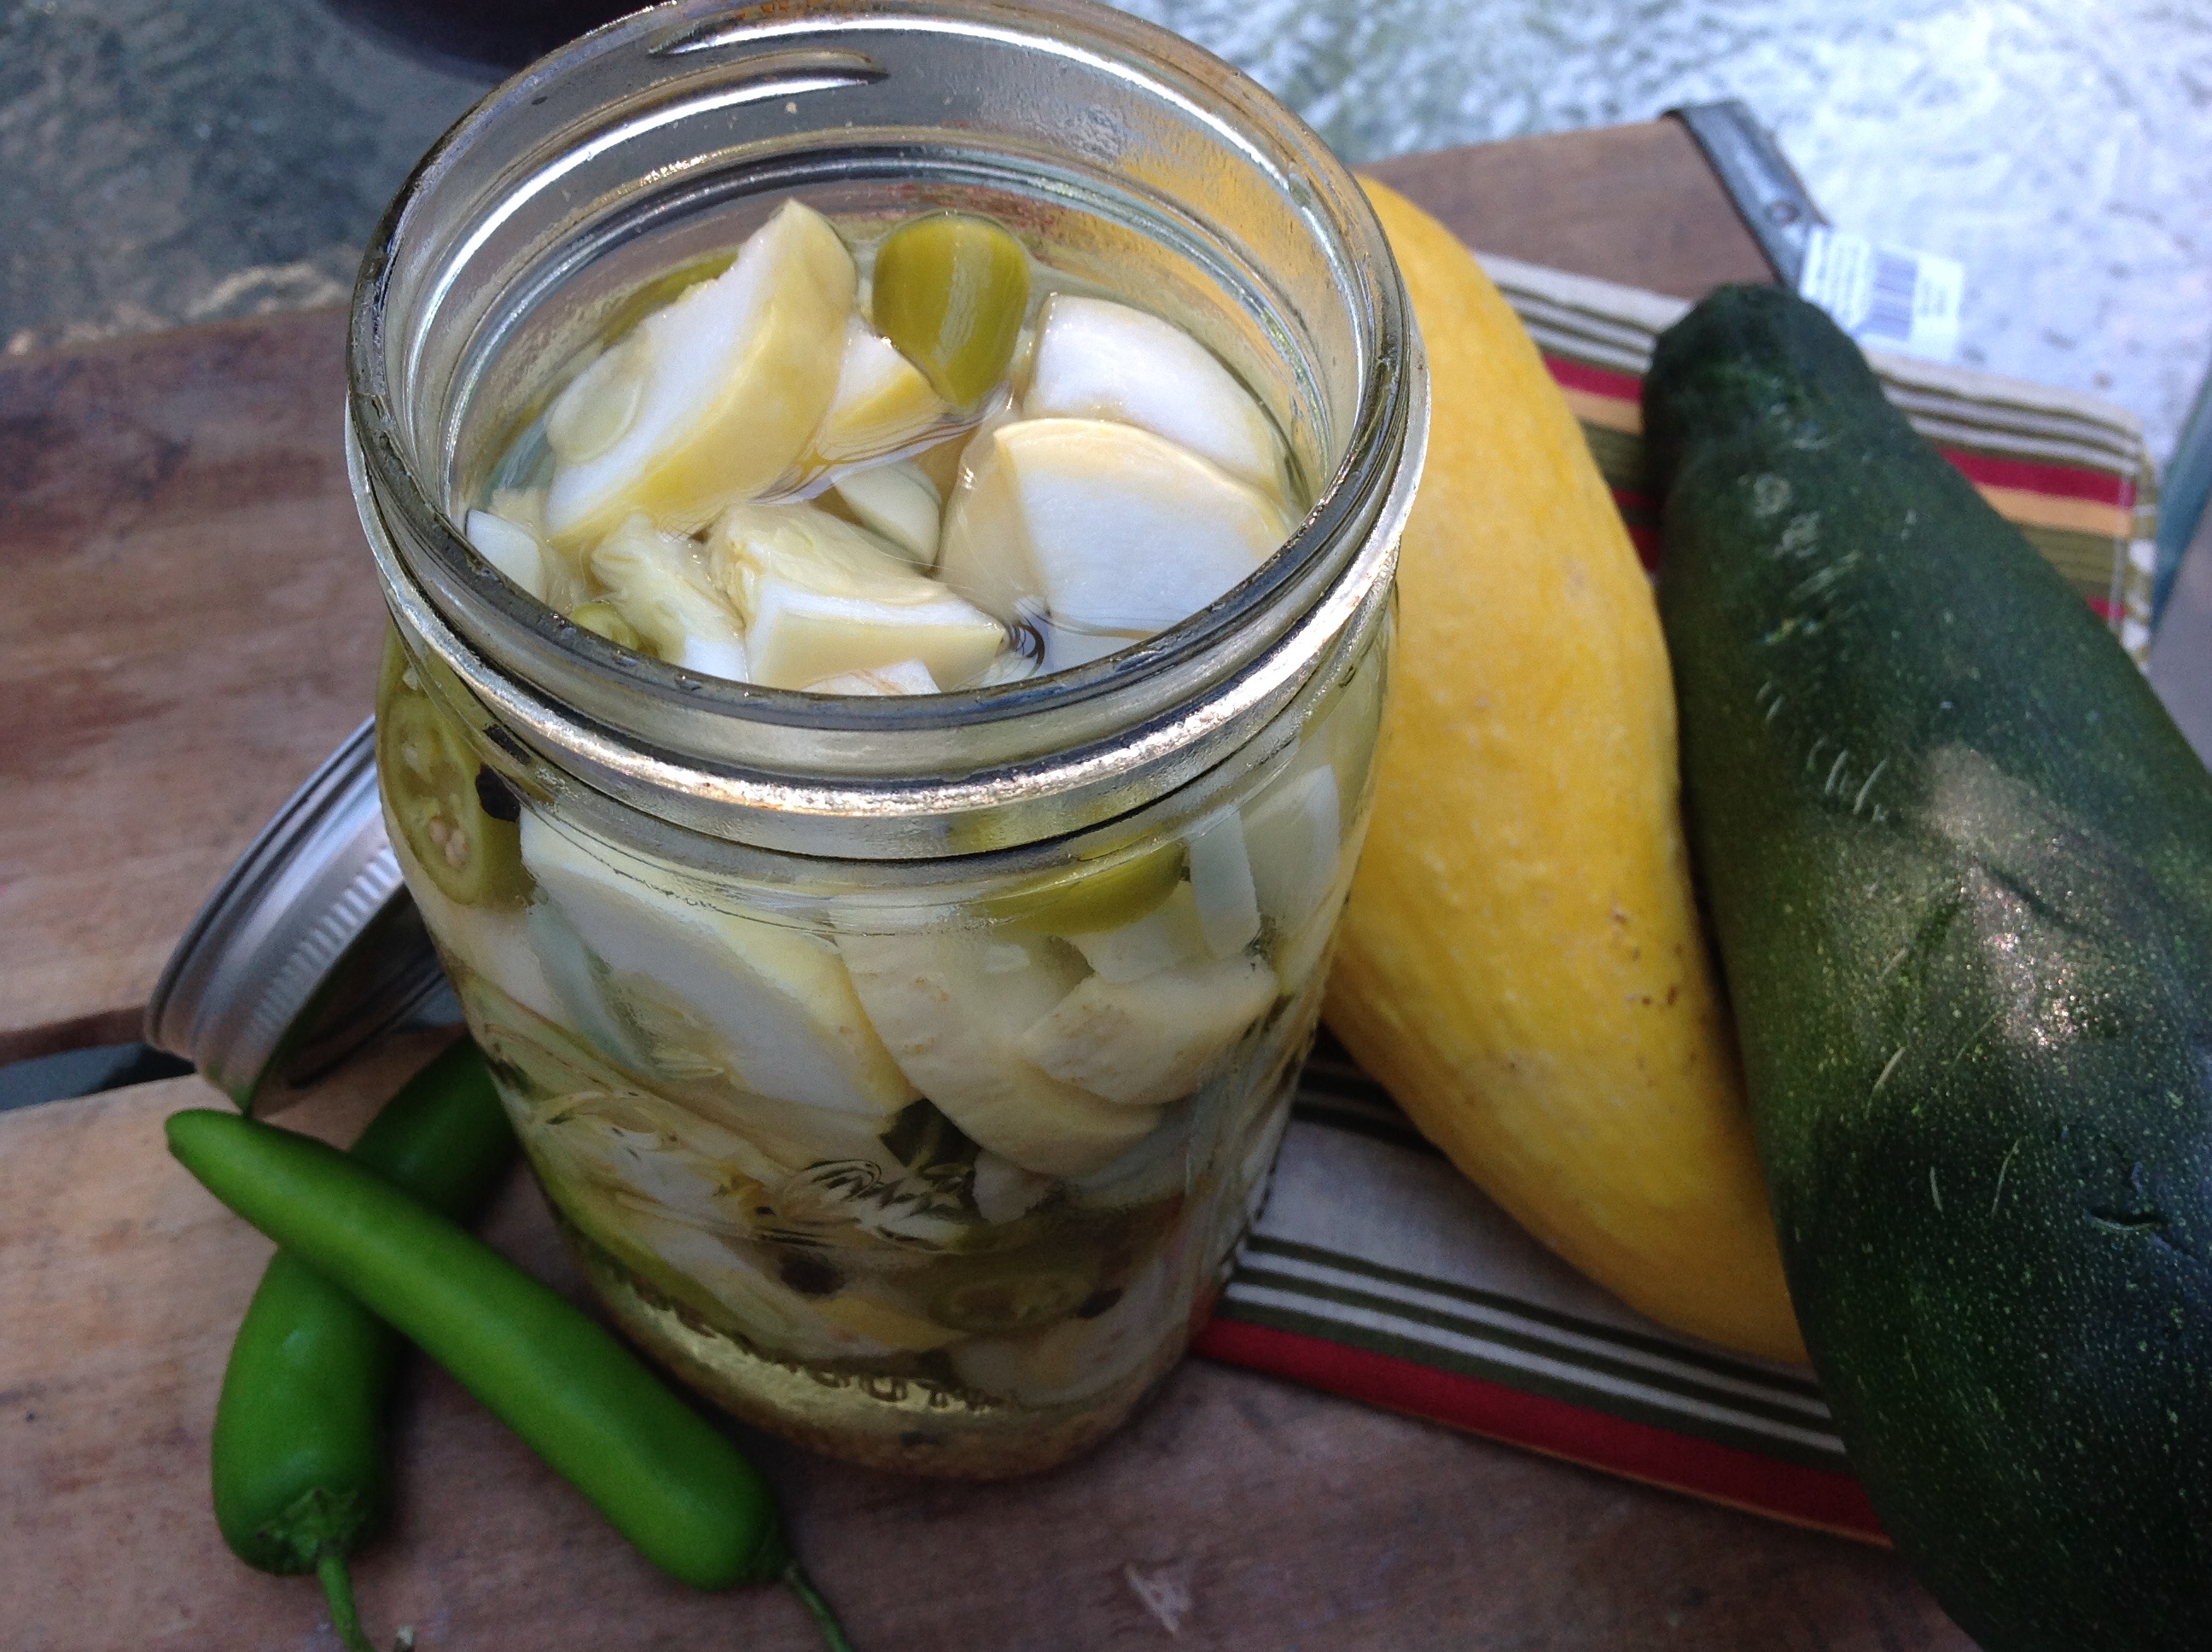
- Kick it up a notch! You can also add sliced chili peppers to your pickled vegetables (or pickle them all on their own). Some hot peppers may seem to lose a little of their kick the longer they sit in the liquid, while others may seem to get even spicier!
- Cook or not to cook? Some vegetables, like beets, carrots, or okra, can be boiled or steamed – until they are slightly tender – before pickling. Other vegetables, such as zucchini or cucumber, are best left raw. Again, whether to cook the veggies is a personal preference based on your desired texture and crunch!
- Keep them separate? Some people prefer to pickle vegetables separately, because different vegetables will pickle at different rates. Onions and zucchini will pickle faster than radishes or carrots. Also, some vegetables such as beets, radishes and red onions can “bleed” their colors, which can be good or bad depending on what results you are looking for. Pickling complementary veggies together can produce some great results…for example, carrots and daikon are a fantastic combination!
- Always 1:1? The 1:1 ratio of vinegar and water is a good starting point, but you can adjust the ratio to more or less vinegar based on your preference.
- Size matters! To help everything pickle at the same rate, we recommend slicing or chopping everything to a similar size.
- Pickle fruits? Yes, you can even pickle fruits! Try pickling blackberries, blueberries, cherries, grapes, peaches, strawberries or watermelon and see what you think.
- Beer instead of water? Yes! Instead of water, use your favorite beer (IPA and pale ale work great, as do lagers and stouts…it is personal preference). Check out these flavorful Spicy IPA Pickled Veggies!

Zonya’s Take:
Nutritionally, there are several benefits to DIY pickling…
- You are skipping the rather questionable Sodium Bisulfate, Sodium Benzoate, and FD&C yellow #5 that is often used.
- These recipes let you be “in charge” of the sodium content. Since we are not attempting to make these shelf stable, you do not need to adhere to a high level of salt for “preserving.” You can use just the amount of salt you need for flavor, and many of you will find you don’t need much! These recipes are “middle of the road,” meaning we want you to taste something similar to what you are used to, but it is indeed lower than commercially pickled products. But feel free to use even less, especially if “less salt” is what you are accustomed to!
- It really is yet another way to fit in more tasty vegetables into a meal!
Here are some great-tasting ideas!
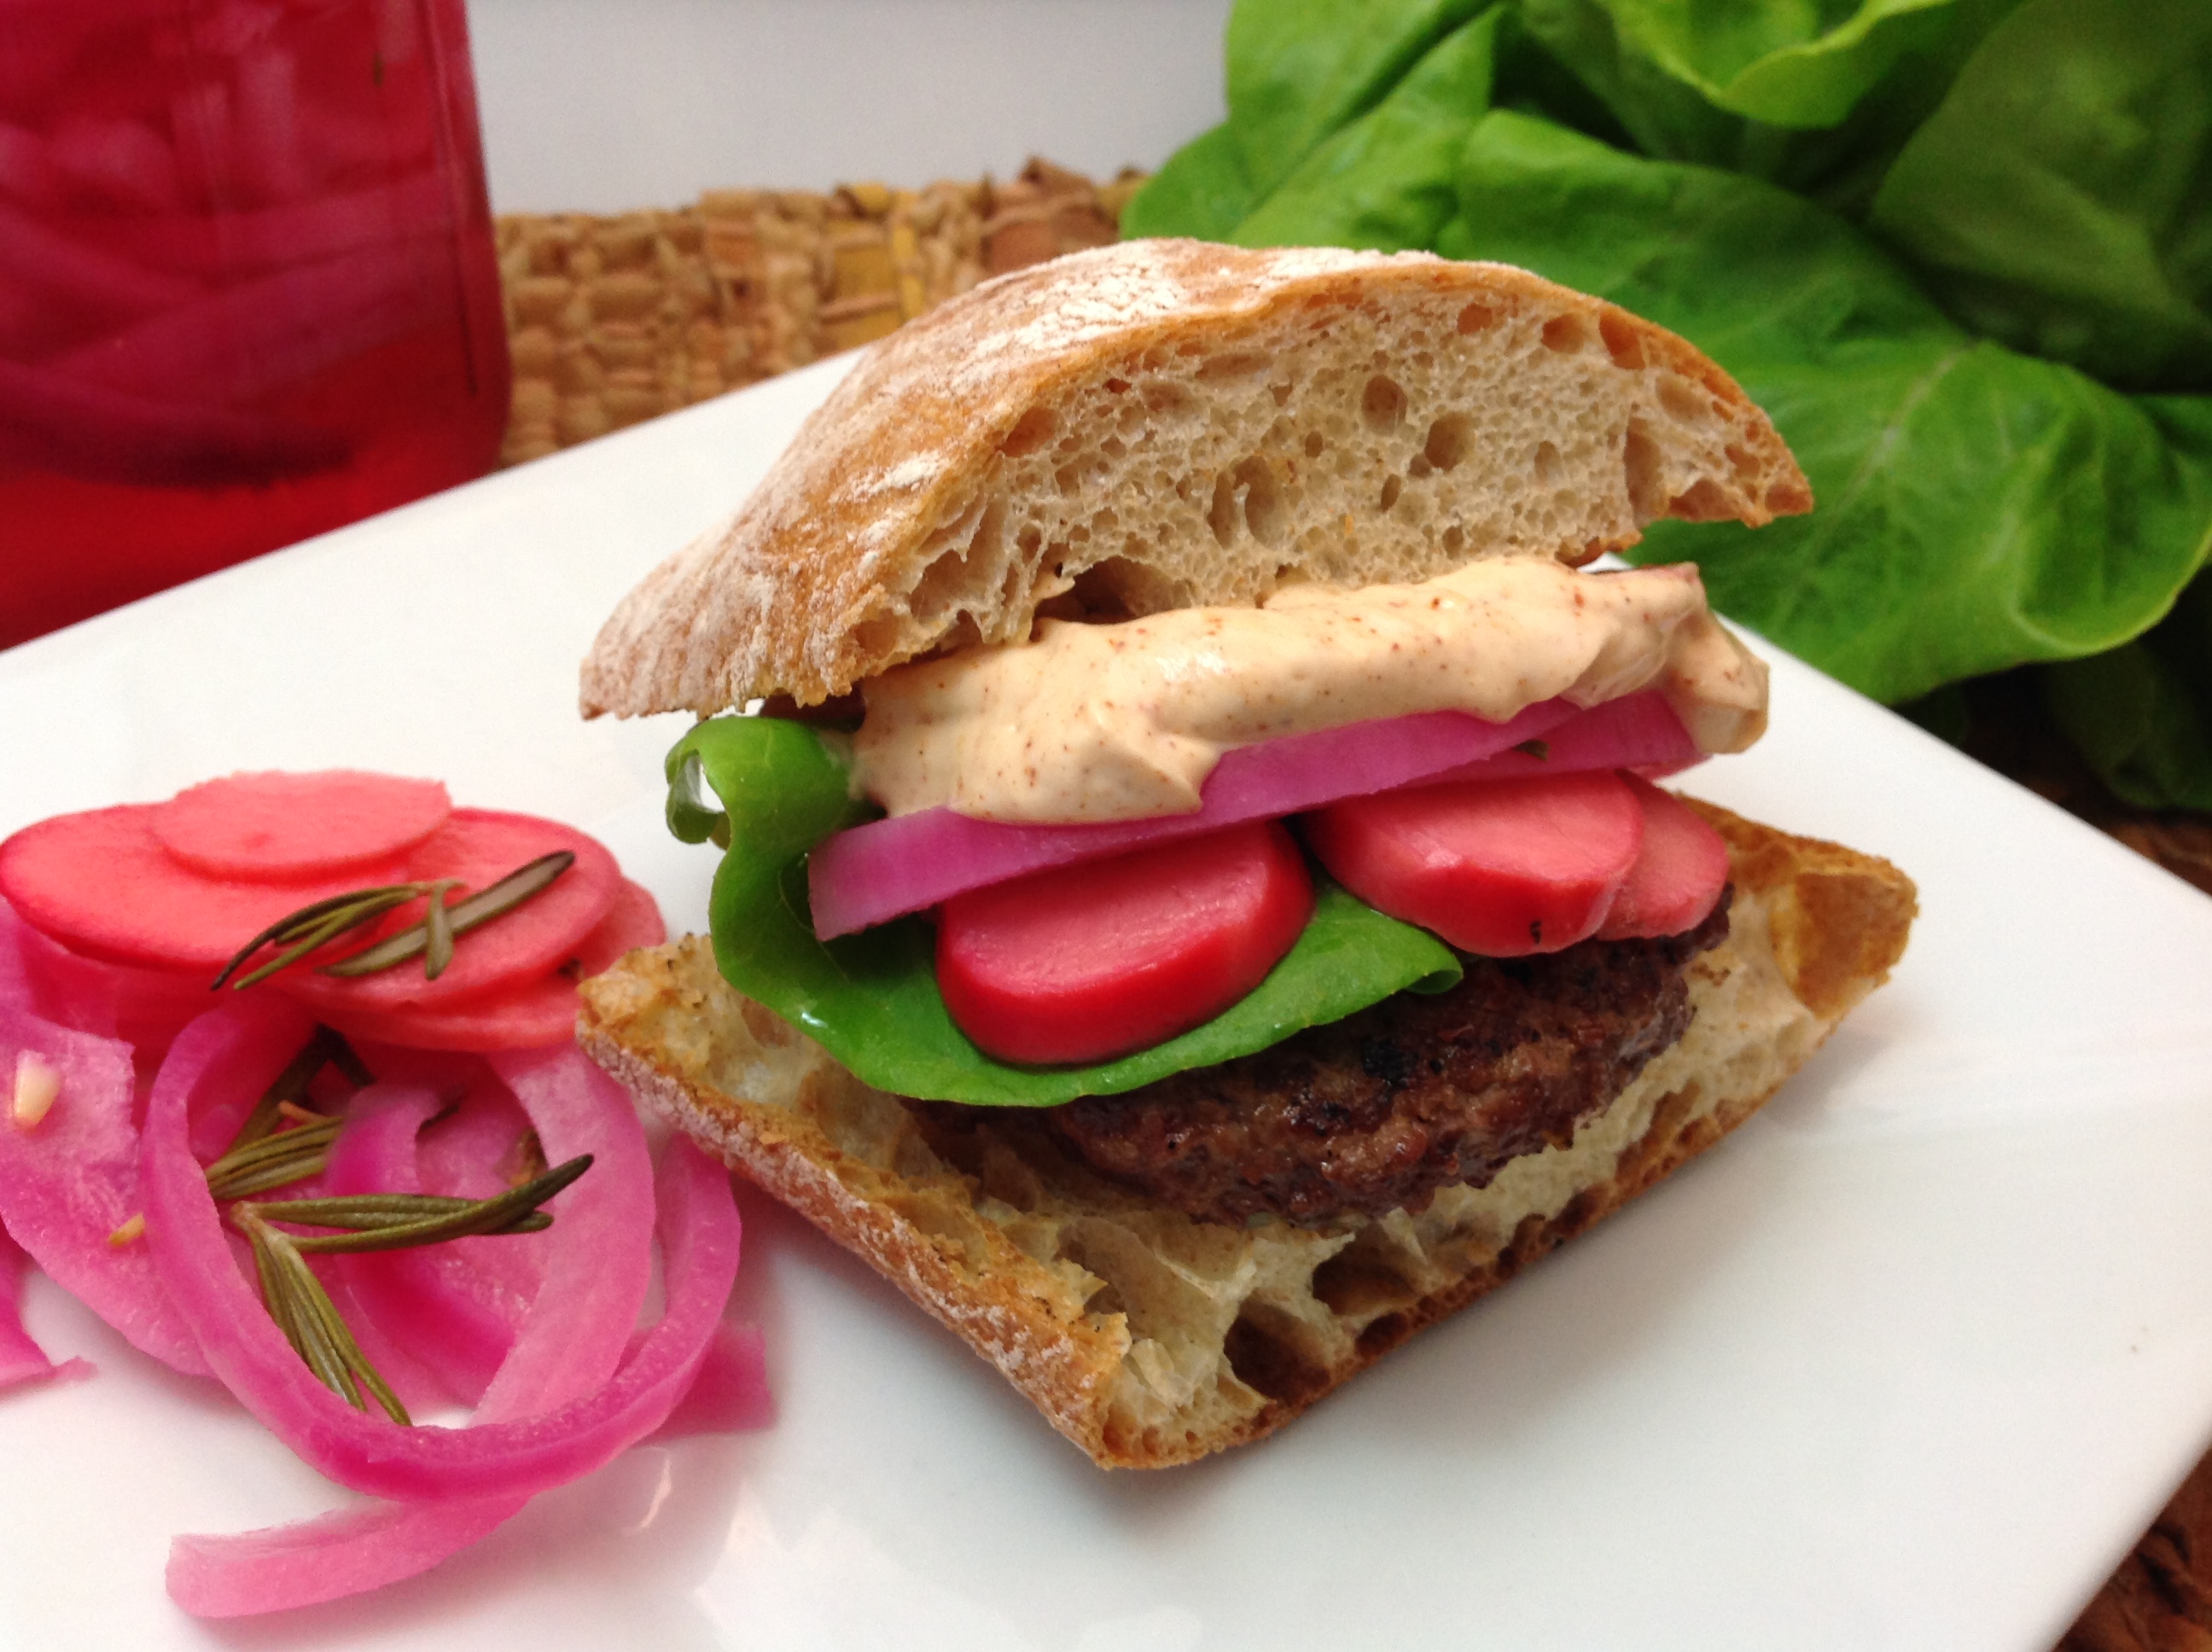 Korean Burgers with Pickled Radishes and Onions
Panzanella Salad with Pickled Radishes & Onions
Green Beans with Pickled Red Onions
Toasted Millet Salad with Pickled Onions
What a great way to add more flavor and pizzazz to your next meal! Plus, these homemade veggies let you save some money too! Try it and see what you think — we are sure you can come up with a fantastic flavor combinations, and we would love to hear about them!
Great ideas! I’m pickling some red onion to top our Avocado Egg Salad sandwiches for lunch today.
I have to say, quick pickling has changed our life! So simple and so good to have for so many things…burgers, sandwiches and salads! Thank you!
I’m trying my hand at making giardiniera today for Italian beef sandwiches for guests on Friday. It looks fantastic!
You are officially a quick pickle master in our book! Thank you for sharing!
I have pickled radishes last summer when I saw the video on pickling. I loved it. I need to do it again.
Yes! So simple it can be easy to forget about it! But it is nice to have pickled veggies on hand for so many things! Remember, you can pickle all kinds of veggies!
Using water. What do I use?
Need to know: somewhere I read that in
Sauerkraut and pickling: what water matters to get the benefits of the vegetable chart 5/7 (how many C vegetables charting.
Made another batch of quick pickling with cucumbers, onions and zucchini. Yum!!