 Quick, easy, and the possibilities are endless!

You can use your favorite veggies, fruits, seafood, meats, nuts, herbs and so much more!
Plus, they are affordable, delicious and good for you!
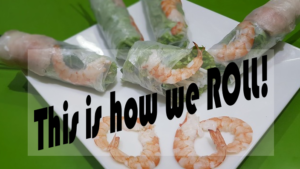
That’s right, we are talking about spring rolls!
Thanks to the passionate inspiration and request from an Eat REAL America member, we wanted to share some delicious ideas plus helpful tips to help you incorporate spring rolls into your routine!
First, the obvious question…what is a spring roll?
 Spring rolls are similar to (yet different from) egg rolls and can include a wide variety of fillings. These fillings often include fresh vegetables, but could include anything you can dream up!
Spring rolls are made with Vietnamese rice paper wrappers, which are thin translucent wrappers and are typically NOT fried. This rice paper is a cooked ingredient (kind of like a paper-thin rice pancake that has been steamed, and then dried). Once it is re-hydrated with water, it can be rolled with various ingredients, and then eaten immediately. Dried rice paper wrappers can be stored in a plastic bag or airtight container in your pantry for a year or more.
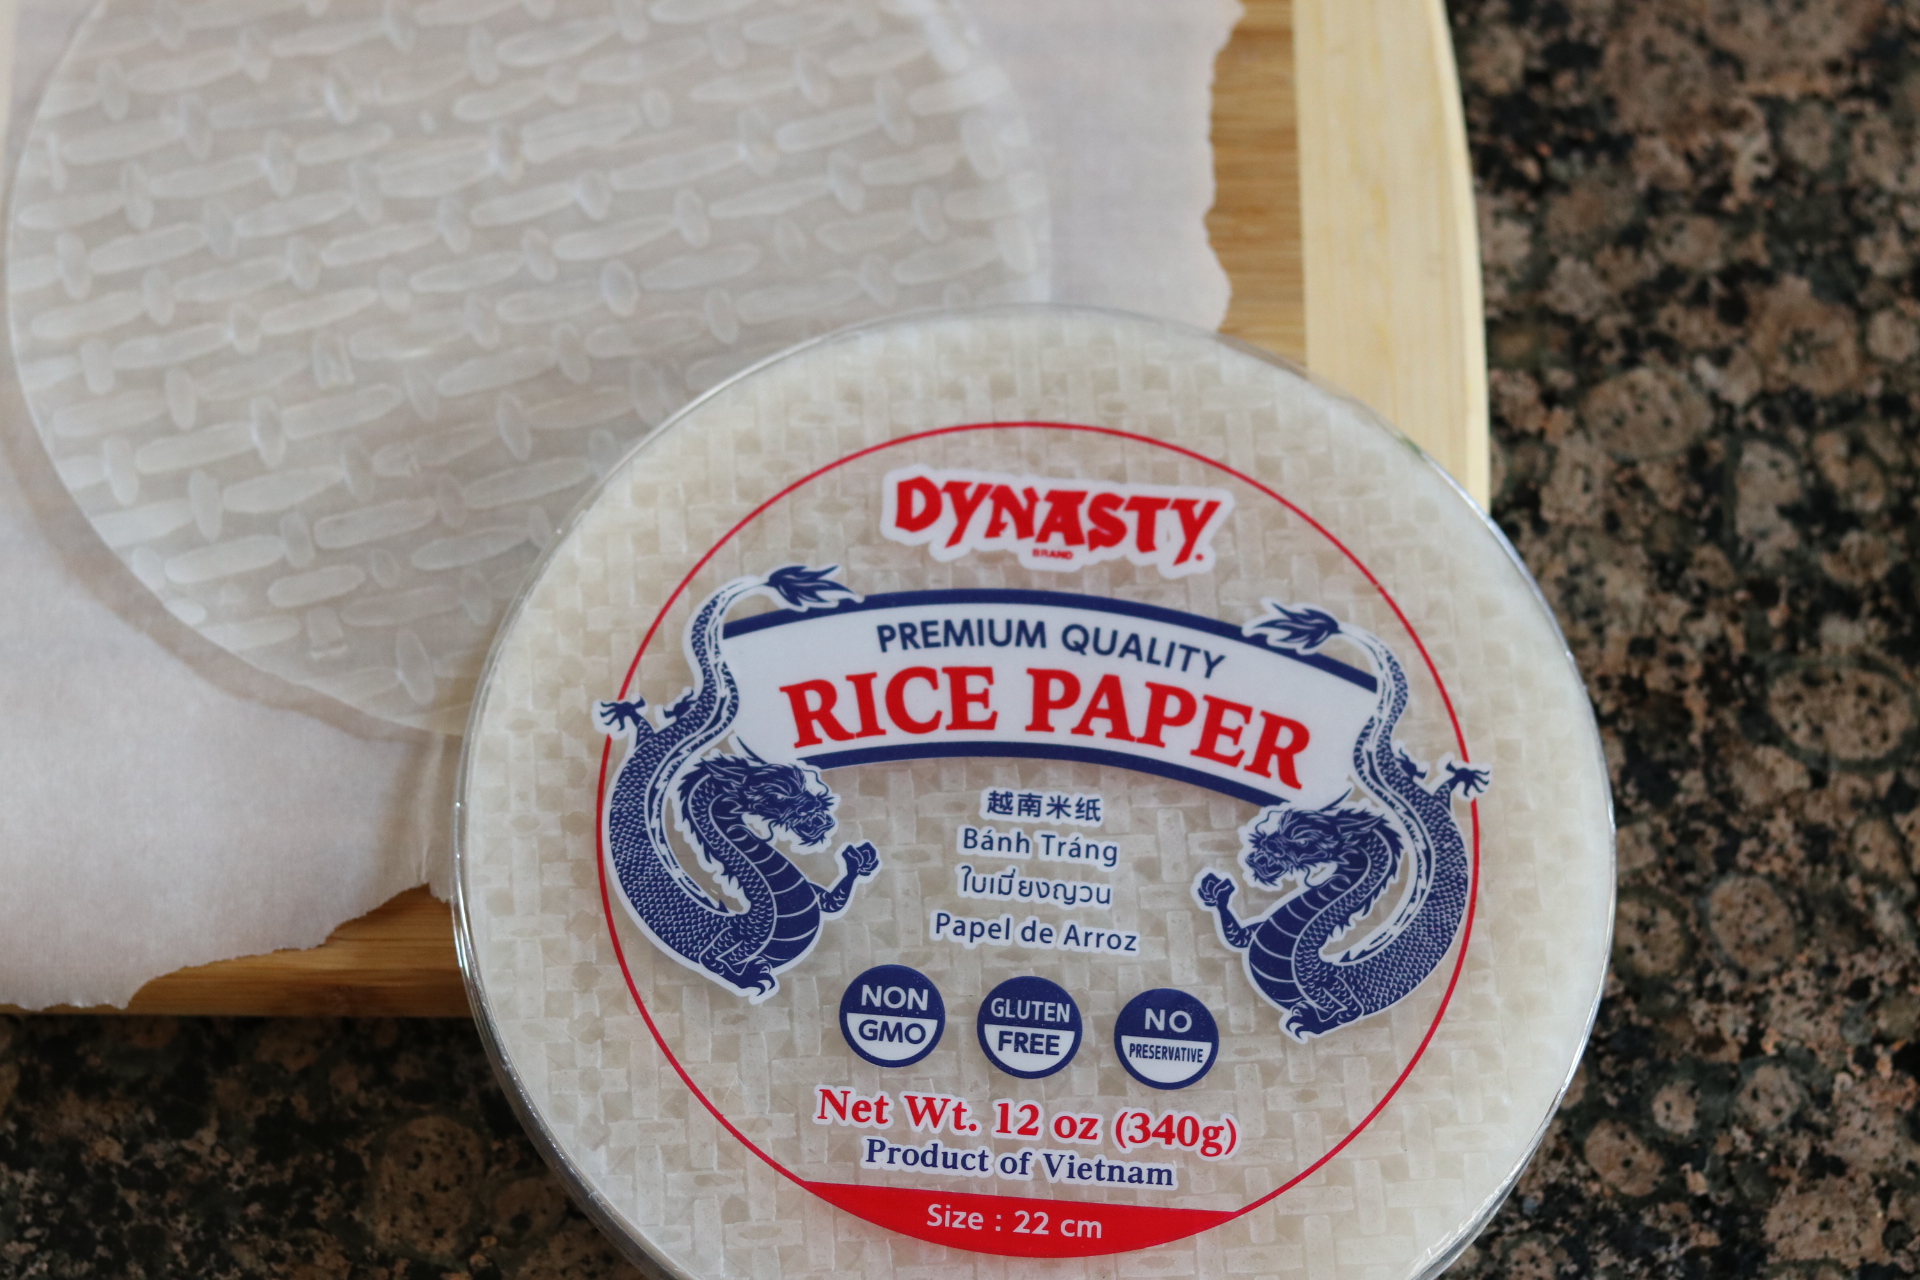 Vietnamese rice paper, with only about 20 calories each, is made with rice, salt and water (and sometimes tapioca starch) and is available in round (about 8 1/2 ” tortilla size), or square wrappers.
In recent years, Vietnamese rice paper wrappers include tapioca starch, which makes them thinner and easier to work with. However, keep in mind, some wrappers are made ONLY with tapioca starch…many find that these can go limp and tear easily.
How is a spring roll different from an egg roll?
Egg rolls have thicker, deep-fried wrappers that are made from wheat flour, egg and water, or egg noodle dough. Egg rolls are most often fried, but can also be baked.
How do you make spring rolls?
 First, fill a shallow bowl with water (room temperature), about 1/2 inch deep.
- To make assembly easier, have all your ingredients chopped and ready.
- Dip a rice wrapper in the water for about 5 seconds — yes, only 5 seconds! The wrapper will still be firm, but will continue to soak up the water as you assemble the spring roll. By the time you finish rolling the spring roll, the wrapper will be soft. If desired, you can leave the wrapper in the water for more than 5 seconds (up to 15 seconds), but it will become softer and more difficult to work with. Go ahead and experiment to find your preference.
- Place the wrapper on a cutting board, parchment paper or clean flat surface. (Wet rice wrappers may stick to some wood cutting boards, but parchment paper or even a kitchen towel should work great).
- Starting in the middle, add about 1 Tbsp of each ingredient. Fold the sides of the wrapper towards the middle, and then gently pull the edge of the wrapper closest to you up and over the filling. Roll the wrapper over the filling, about one rotation, keeping both sides of the wrapper tucked in, and
 continue to roll, using your fingers to hold in the filling, until the spring roll is completely wrapped.
 - Place on a plate (lined with parchment paper or wax paper to prevent sticking) and repeat for each spring roll. It may help to dry off your rolling surface between assembling each roll. (Try not to let the spring rolls touch, as they will tend to stick together). Let the spring rolls sit for a few minutes to finish absorbing the water and dry out slightly.
- Serve with your favorite dipping sauce — try this delicious peanut sauce or Asian dipping sauce!


Tips and tricks to remember when assembling spring rolls:
- Don’t feel like you have to have a recipe — spring rolls can be filled with a variety of your favorite veggies! (Look at it as the perfect way to clean out the refrigerator!)
- Have your ingredients and fillings chopped, meat or seafood cooked, and everything ready to go — it will make assembly much easier!
- If you are using greens, it can be helpful to put your greens down first on the wrapper, and then pile the other ingredients on top of the greens.
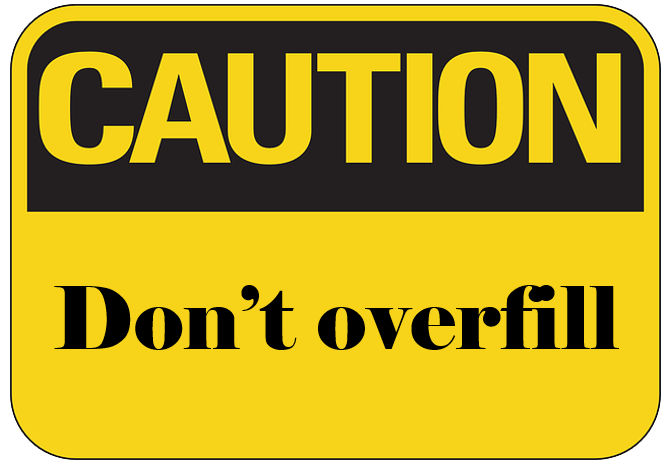
 Probably the most important tip…don’t overfill your spring roll! A good rule of thumb is use about 1/2 cup of total ingredients for each spring roll.
- You can make spring rolls ahead of time and store, wrapped individually in parchment paper or wax paper, in the refrigerator for 4-6 hours before serving.
- Of course, spring rolls are great eaten as is, but you can also cook them! After you assemble your spring rolls, lightly brush each side with oil (olive or coconut), place on a greased baking sheet and bake at 350 degrees for 10 minutes, turn, then bake 10 minutes more. Try it and see if you like it — baking the spring rolls will give them a slightly crisp and chewier texture.
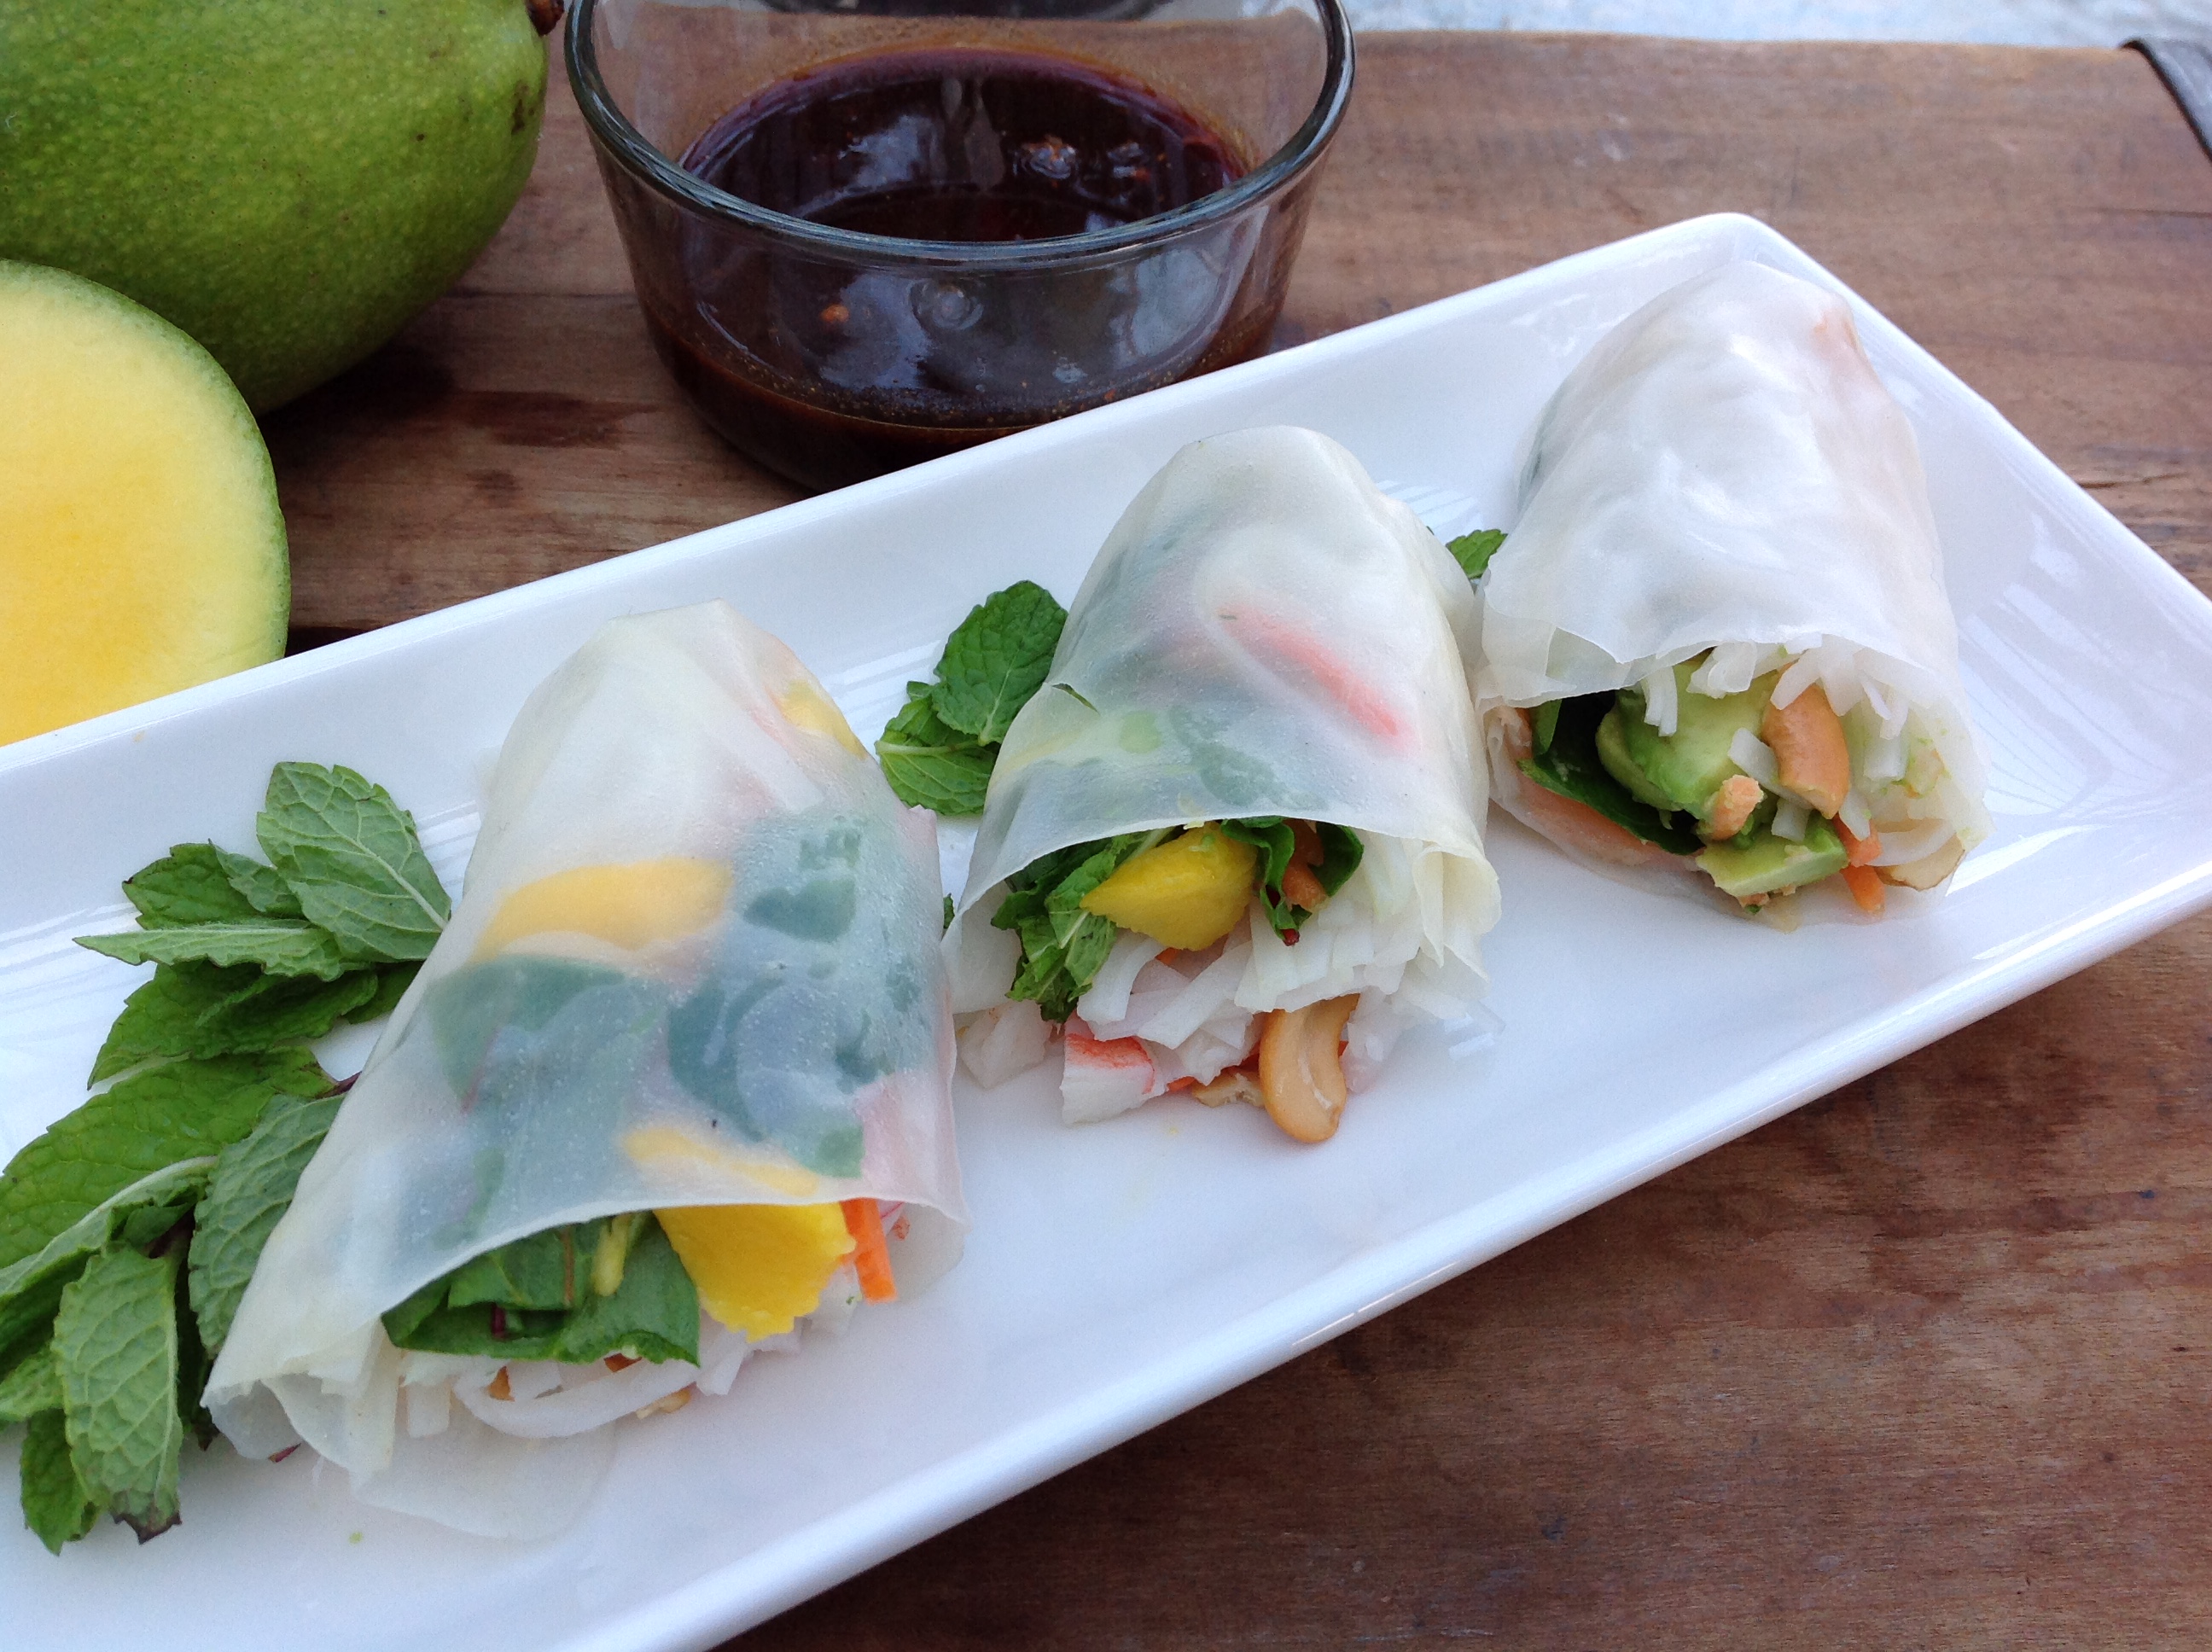
What types of filling should you use? Get creative!
 Raw vegetables: use raw vegetables of any kind, such as bell pepper, purple cabbage, zucchini, kohlrabi, carrots, radishes, green onions, bean sprouts, asparagus, and greens. Choosing a vegetable with a little crunch will add great texture to your spring roll!
- Protein: pick your protein such as chicken, pork, shrimp, fish, smoked salmon or your favorite meat or seafood.
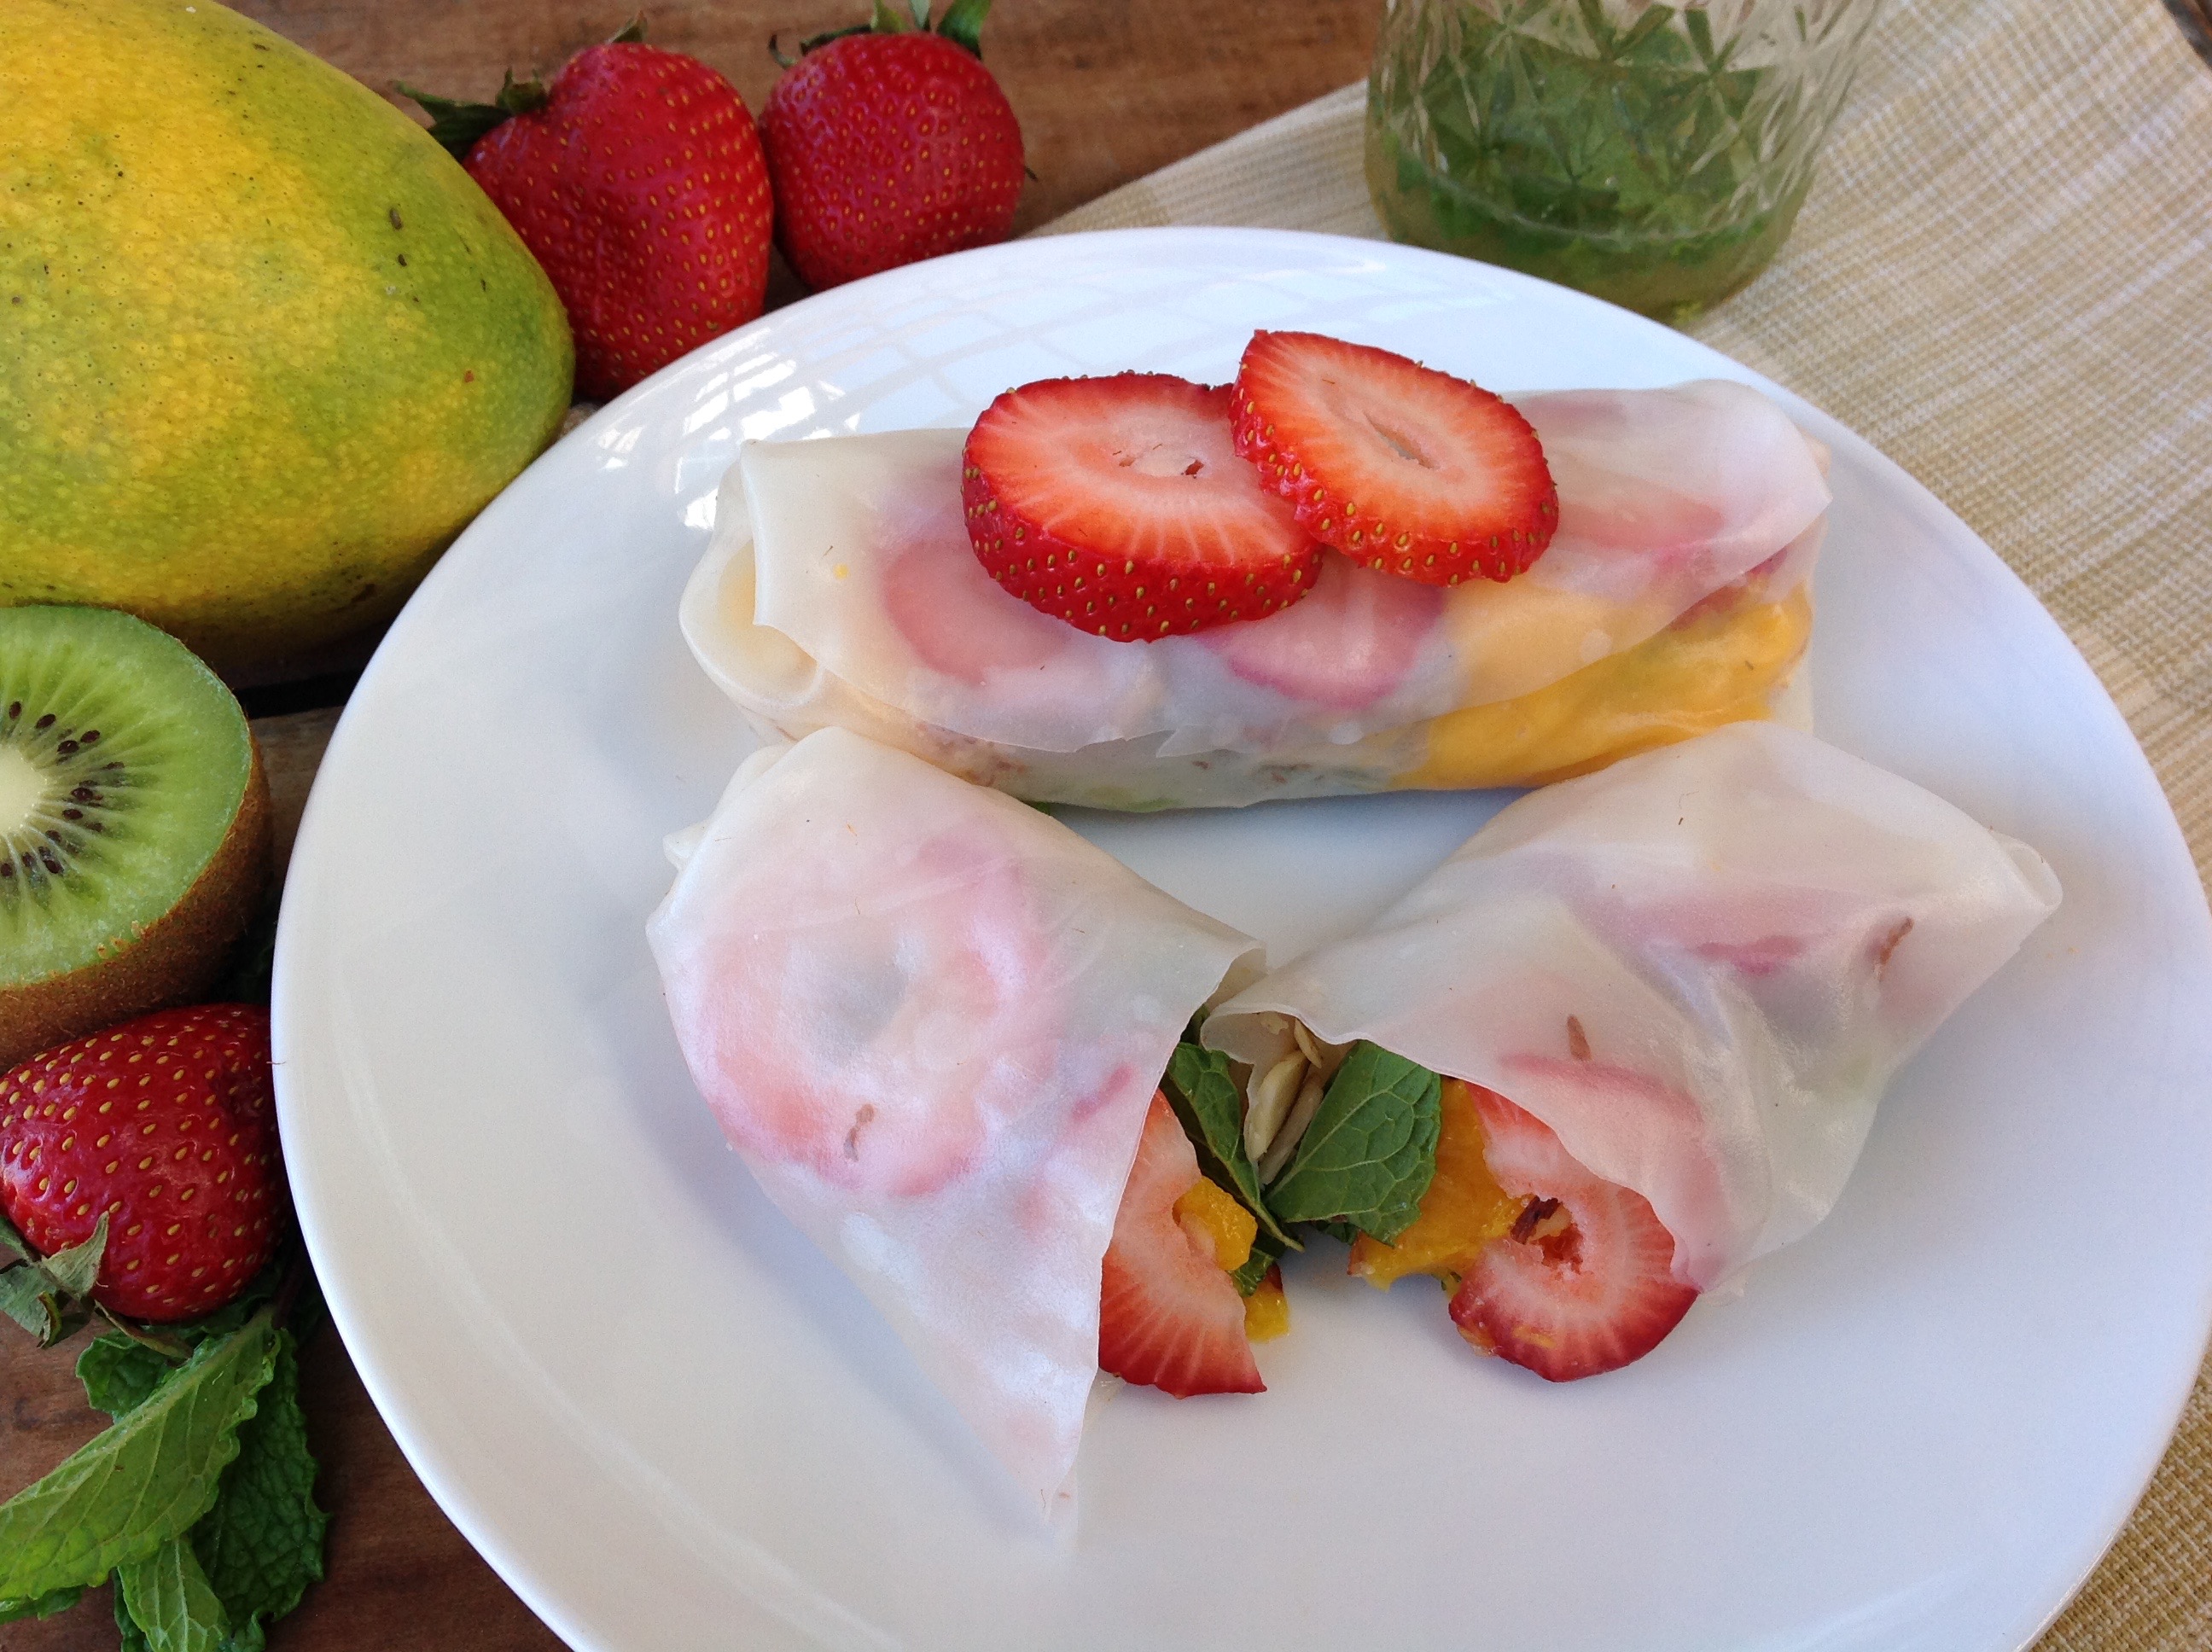
- Fresh herbs: add another flavor element…basil, cilantro and mint are great options!
- Fresh fruit: add in fruit for a little sweetness such as pineapple or mango!
- Nutty crunch: include nuts of your choice for another level of crunch!
- Noodles: cooked rice noodles or rice are also great additions.
- Roasted veggies: add roasted or grilled vegetables for a pop of flavor!

Try these flavor combinations!
- Tropical Seafood Spring Roll
- Rainbow Veggie Spring Roll
- Sweet Fruity Spring Roll
- Hibachi beef/shrimp/apple – recommended from one of our favorite local farmers!
- BLT: enjoying bacon in moderation, try filling your spring roll with cooked crispy bacon, lettuce, tomato and avocado slices.
 Spring rolls are an excellent way to wrap up healthy ingredients in one convenient package! Remember, the more you roll, the easier it will get!
Don’t be intimidated, once you get the hang of it and discover your favorite ingredient combinations you may wonder “where have these been all my life?”
We would love to hear from you – do you have ideas you would like to share?
Give them a try and please share your successes with us!
Leave A Comment