 What is your perception of sprouts?

There was a time when I thought they were just added to sandwiches, wraps and salads to make them look fancy. It didn’t even cross my mind that they were actually good for me!
After we started our REAL food journey, I became more curious about sprouts and microgreens. If you remember our coaching tip on microgreens, we talked about how we fell in love after discovering them at the farmers’ market and about their amazing nutrients, flavor, texture, and visual appeal.
Sprouts have a lot in common with microgreens, so we want to help you learn how to harness their power in your routine.
What are sprouts?
You can basically think of sprouts as the first stage of a plant’s life cycle. When the seeds are exposed to the right combination of moisture and temperature, they start to sprout. To get edible sprouts, all you have to do is keep them slightly moist and let them grow for a few days. Believe it or not, it’s super-easy to grow your own…keep reading, I think you will be as surprised as we were!
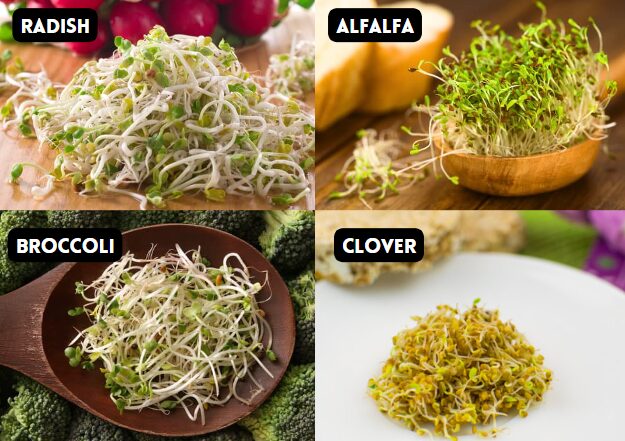
All kinds of different plants – each with their own flavor, texture and nutrients – can be grown into sprouts. Some common varieties include:
 Alfalfa sprouts (mild, slightly nutty flavor)
- Broccoli sprouts (slightly bitter flavor)
- Chickpea sprouts (nutty, slightly earthy flavor)
- Clover sprouts (mild, sweet flavor)
- Lentil sprouts (earthy, slightly nutty flavor with a firm, crunchy texture)
- Mung bean sprouts (crisp texture with a subtly sweet flavor)
- Pea sprouts (slightly sweet and tender flavor)
- Radish sprouts (slightly spicy or peppery flavor)
- Sunflower sprouts (nutty, slightly sweet flavor)
How are sprouts different than microgreens?
Sprouts are typically grown in dark, warm and wet conditions. The seeds usually germinate in water and are not planted. They are often ready to consume within as little as 48 hours and you eat the whole thing – the germinated seed, root, stem and undeveloped leaves.
 Sprouts tend to have a much milder flavor and are often used for texture in wraps, stir-fries and a variety of other dishes.
Compared to sprouts, microgreens are typically grown in soil and light over a 7-to-14-day period. You typically don’t eat the seeds or the roots of microgreens. Instead, you harvest them above the soil and eat the stems and leaves. Microgreens also tend to have a more vibrant color and intense flavor.
Are they safe?
 While they’re highly nutritious (see below), sprouts do carry some risk of foodborne illness like E. coli or salmonella if not handled appropriately. Some sprouts are grown in warm, humid conditions which are conducive to bacterial growth.
If handled properly, this risk can be minimized. If you are buying from a store or local producer, make sure you are buying from a reputable source. If you are growing your own, make sure to thoroughly clean your equipment before and in between uses. It is also a good idea to use organic seeds, and then make sure to keep your harvested sprouts refrigerated. While we typically enjoy our sprouts raw, you could also cook them to further reduce any residual risk.
Why include sprouts in your routine?
All varieties of sprouts are loaded with nutrition and provide a number of health benefits:
 Rich in nutrients. Sprouts are packed with vitamins, minerals and antioxidants. For example, broccoli sprouts are high in sulforaphane, which has potent anti-cancer properties. And clover sprouts are high in vitamins A, C and K, and also contain phytoestrogens which can help balance hormones.
- Help with digestion. Because they are high in enzymes, they can aid digestion and improve nutrient absorption. They are also a good source of fiber, which enhances gut health (we all know how important that is!).
- Immune booster. Sprouts contain many other nutrients like zinc, manganese, and thiamine that provide many health benefits including supporting a strong immune system. Like all vegetables and herbs, sprouts can help reduce the risk of chronic diseases and keep you healthy.

Where can you get them?
 Some grocery stores carry a few varieties of sprouts, and many Asian stores will sell a wider variety.
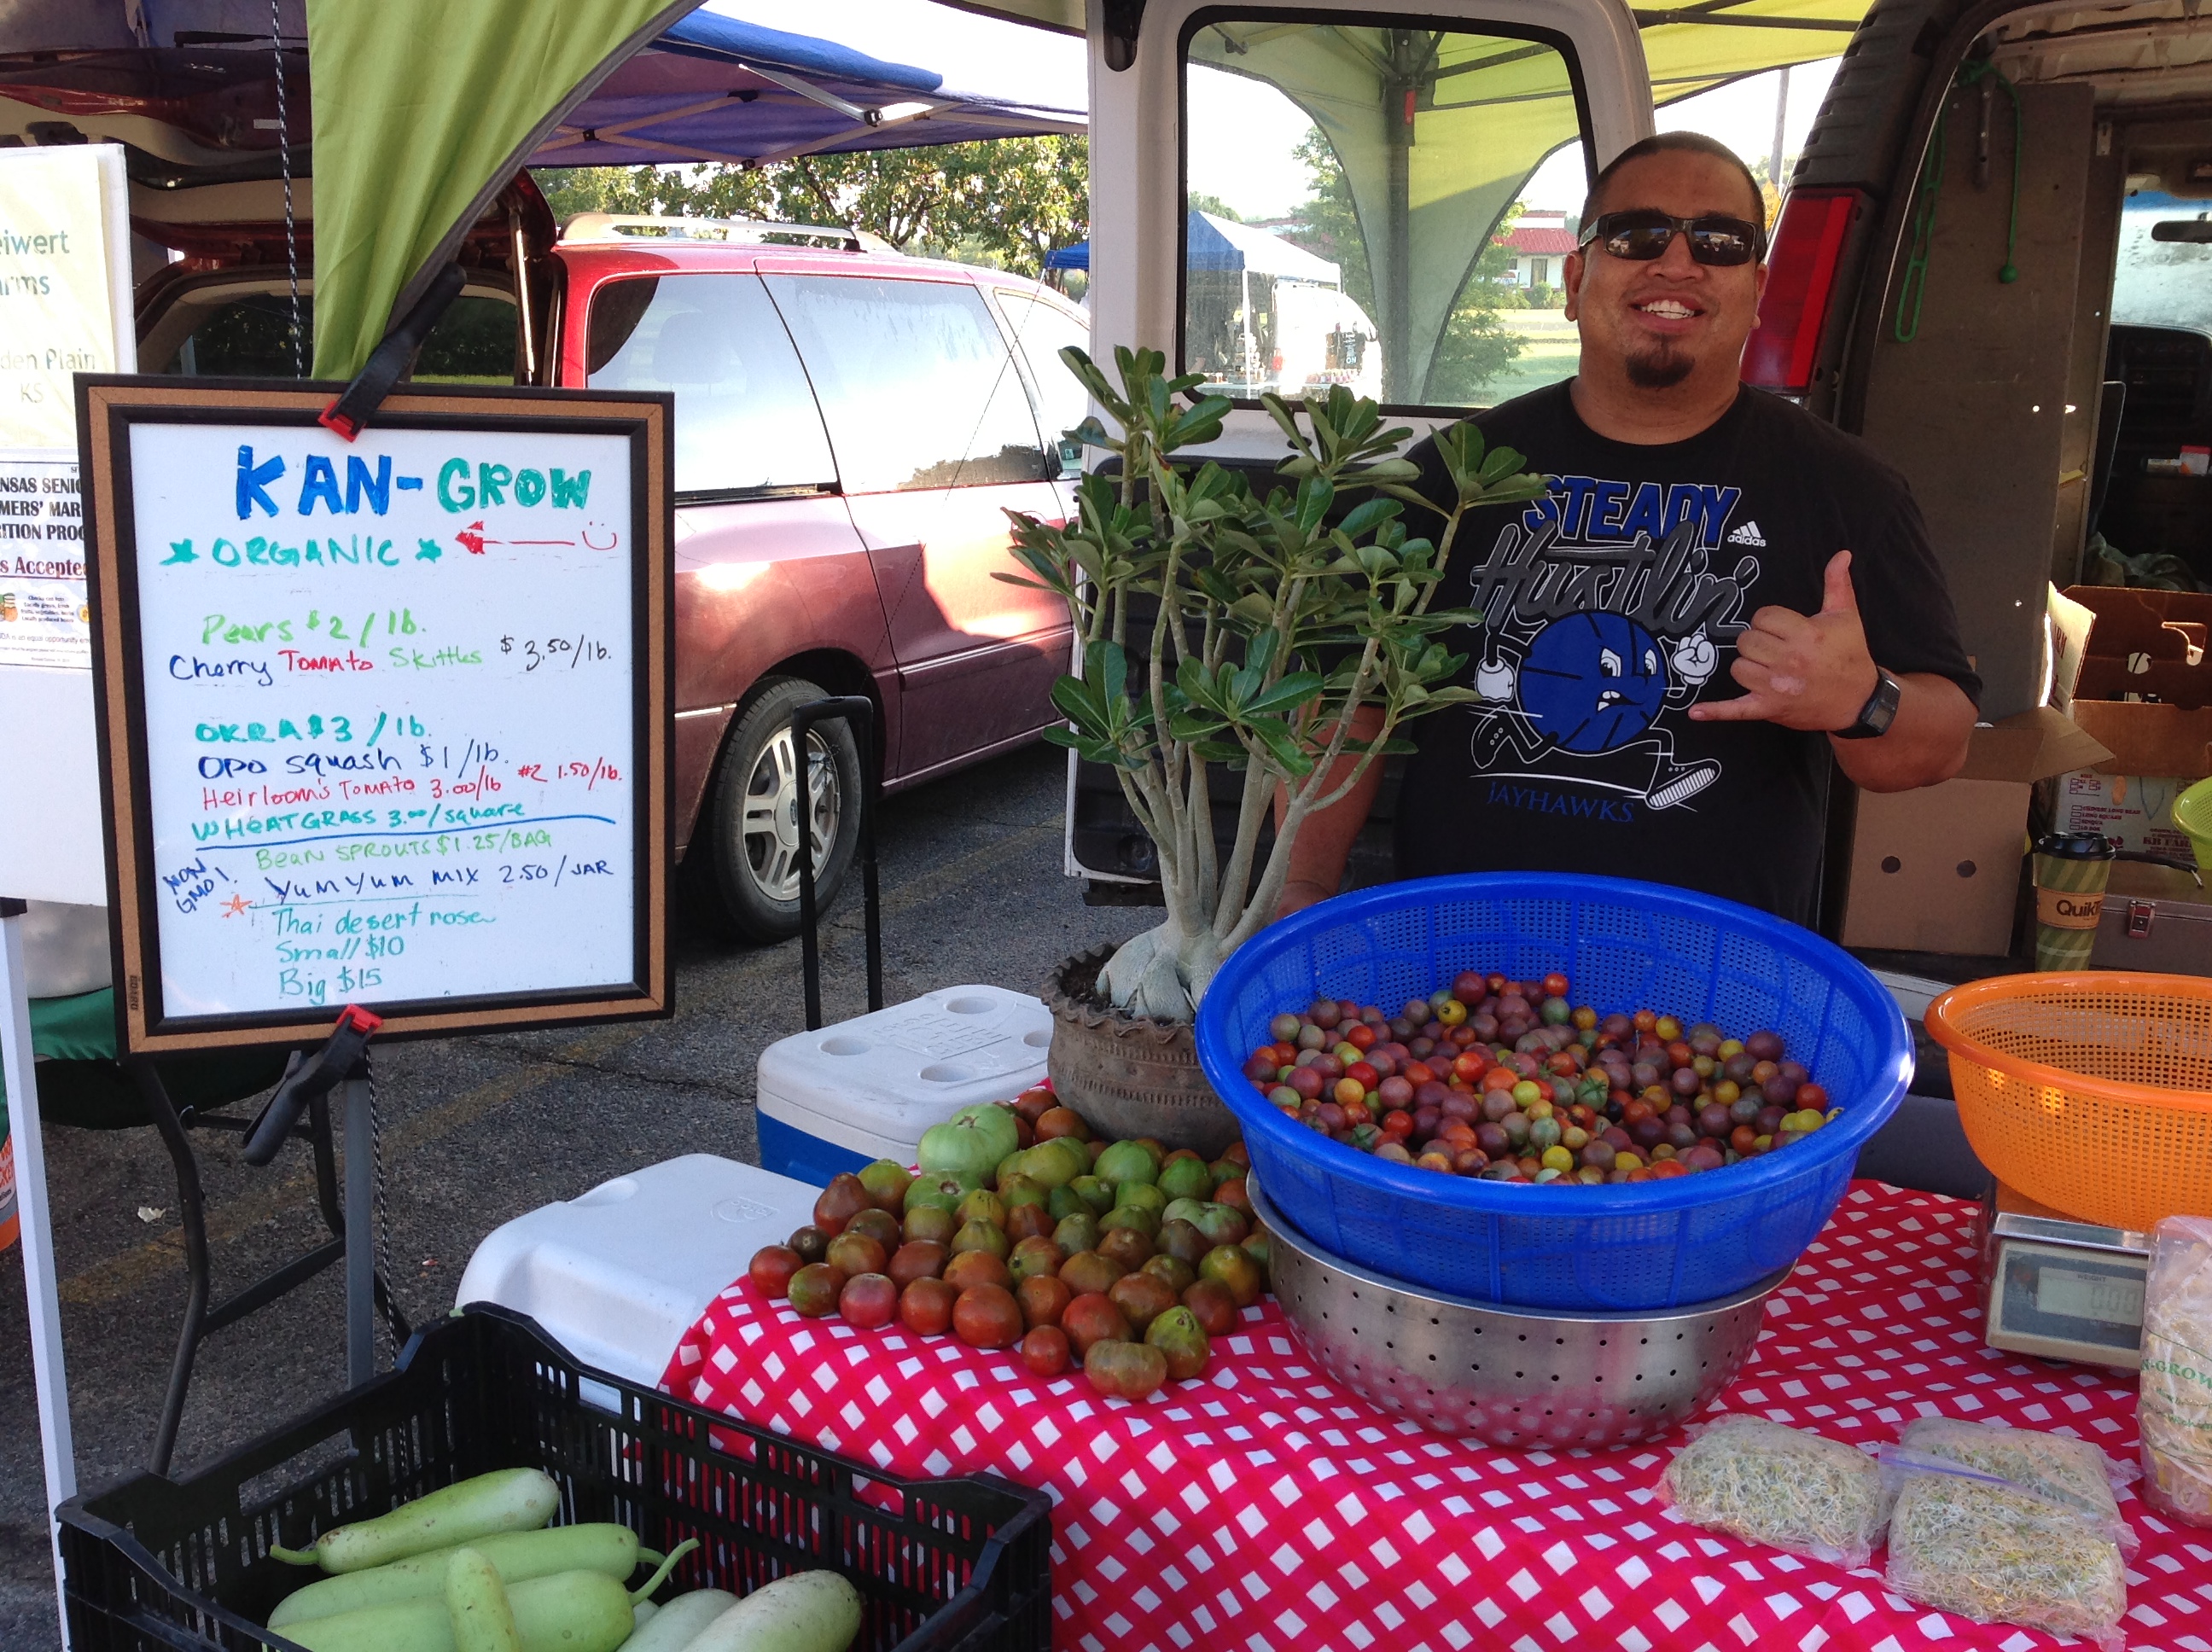
Several years ago, we had a local producer who sold his sprouts at the farmers’ market. They were so fresh and delicious, but he stopped selling at the market to focus on supplying local restaurants.
Grow them yourself?!
 Trust me when I say that it is SUPER-EASY to grow sprouts right there on your kitchen counter! And, I do NOT have a natural green thumb!
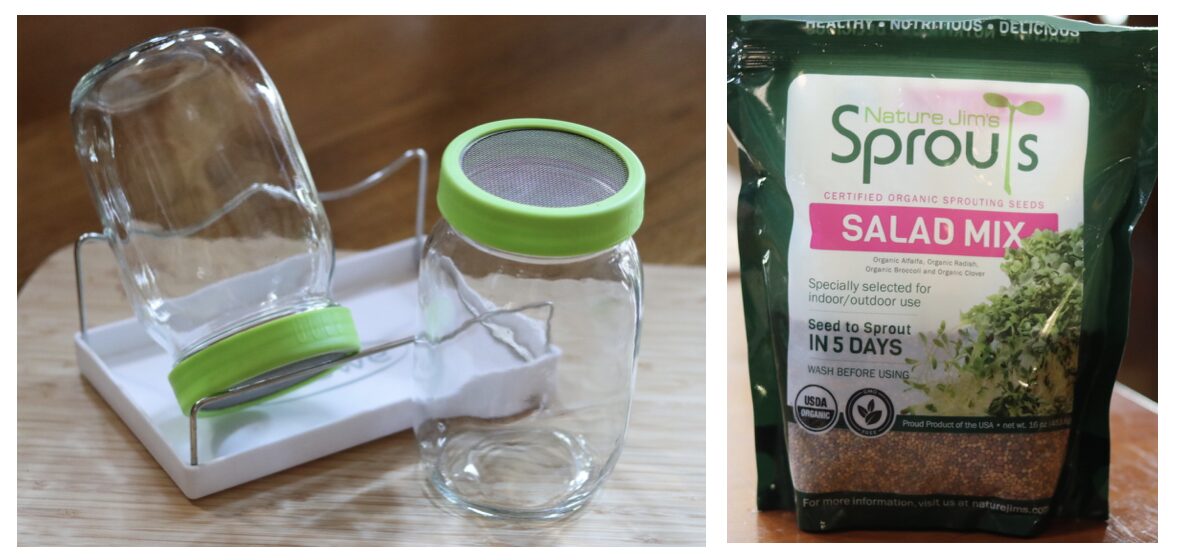
A little while ago, we bought this kit from Amazon, which includes two jars and lids, a tray and a stand. We also bought these organic seeds, which include a mix of alfalfa, broccoli, clover and radish seeds.
Watch this video to see the magic happen in just a few days! No special lighting or soil needed!
Prepared with these jars and seeds, it really is as simple as:
- Soak the seeds. We soaked 1 Tbsp seeds in the jar for about 8 hours. This starts the germination process.
- Rinse and drain. After soaking, drain the water through the mesh screen. Then rinse the seeds and place the jar in the stand at an angle. It’s important to keep the jars at an angle to help them drain. Too much water trapped in the jar can produce bacteria and yeasts, which can result in slimy sprouts – not ideal!
- Rinse and drain twice a day. This only takes about 30 seconds. Fill the jar with water through the mesh screen, then turn it upside down and let the water drain out. Then place it back in the stand at an angle.
- Enjoy! After about 5 days, the jar will be full of sprouts that are ready to enjoy. Some varieties may be ready in as little as 3 days or as long as 7 days. For the seed mix we used, we found 5 days was perfect. And what is crazy is that 1 Tbsp of seeds will yield about 1.5 to 2 cups of sprouts!
When the sprouts are ready, place them in a bowl, fill it with water, and then drain. This will help remove the hulls, or seed coats, which look like little brown round seeds on the sprout. (The hulls are edible but may decrease the storage life of your sprouts.)
The last step is to air dry! We spread out the sprouts on a towel or paper towel and let them air dry for 20-30 minutes. Then, store them in breathable containers in the fridge. We have found they last about 5 days in the fridge before the texture starts to get a little slimy. With two jars, we have learned how to stagger the growing cycle so every three days or so we have a new jar of sprouts ready to enjoy!
Now the fun part…how to enjoy them!
Sprouts are very versatile and can be incorporated into a variety of meals. Here are just a few examples:
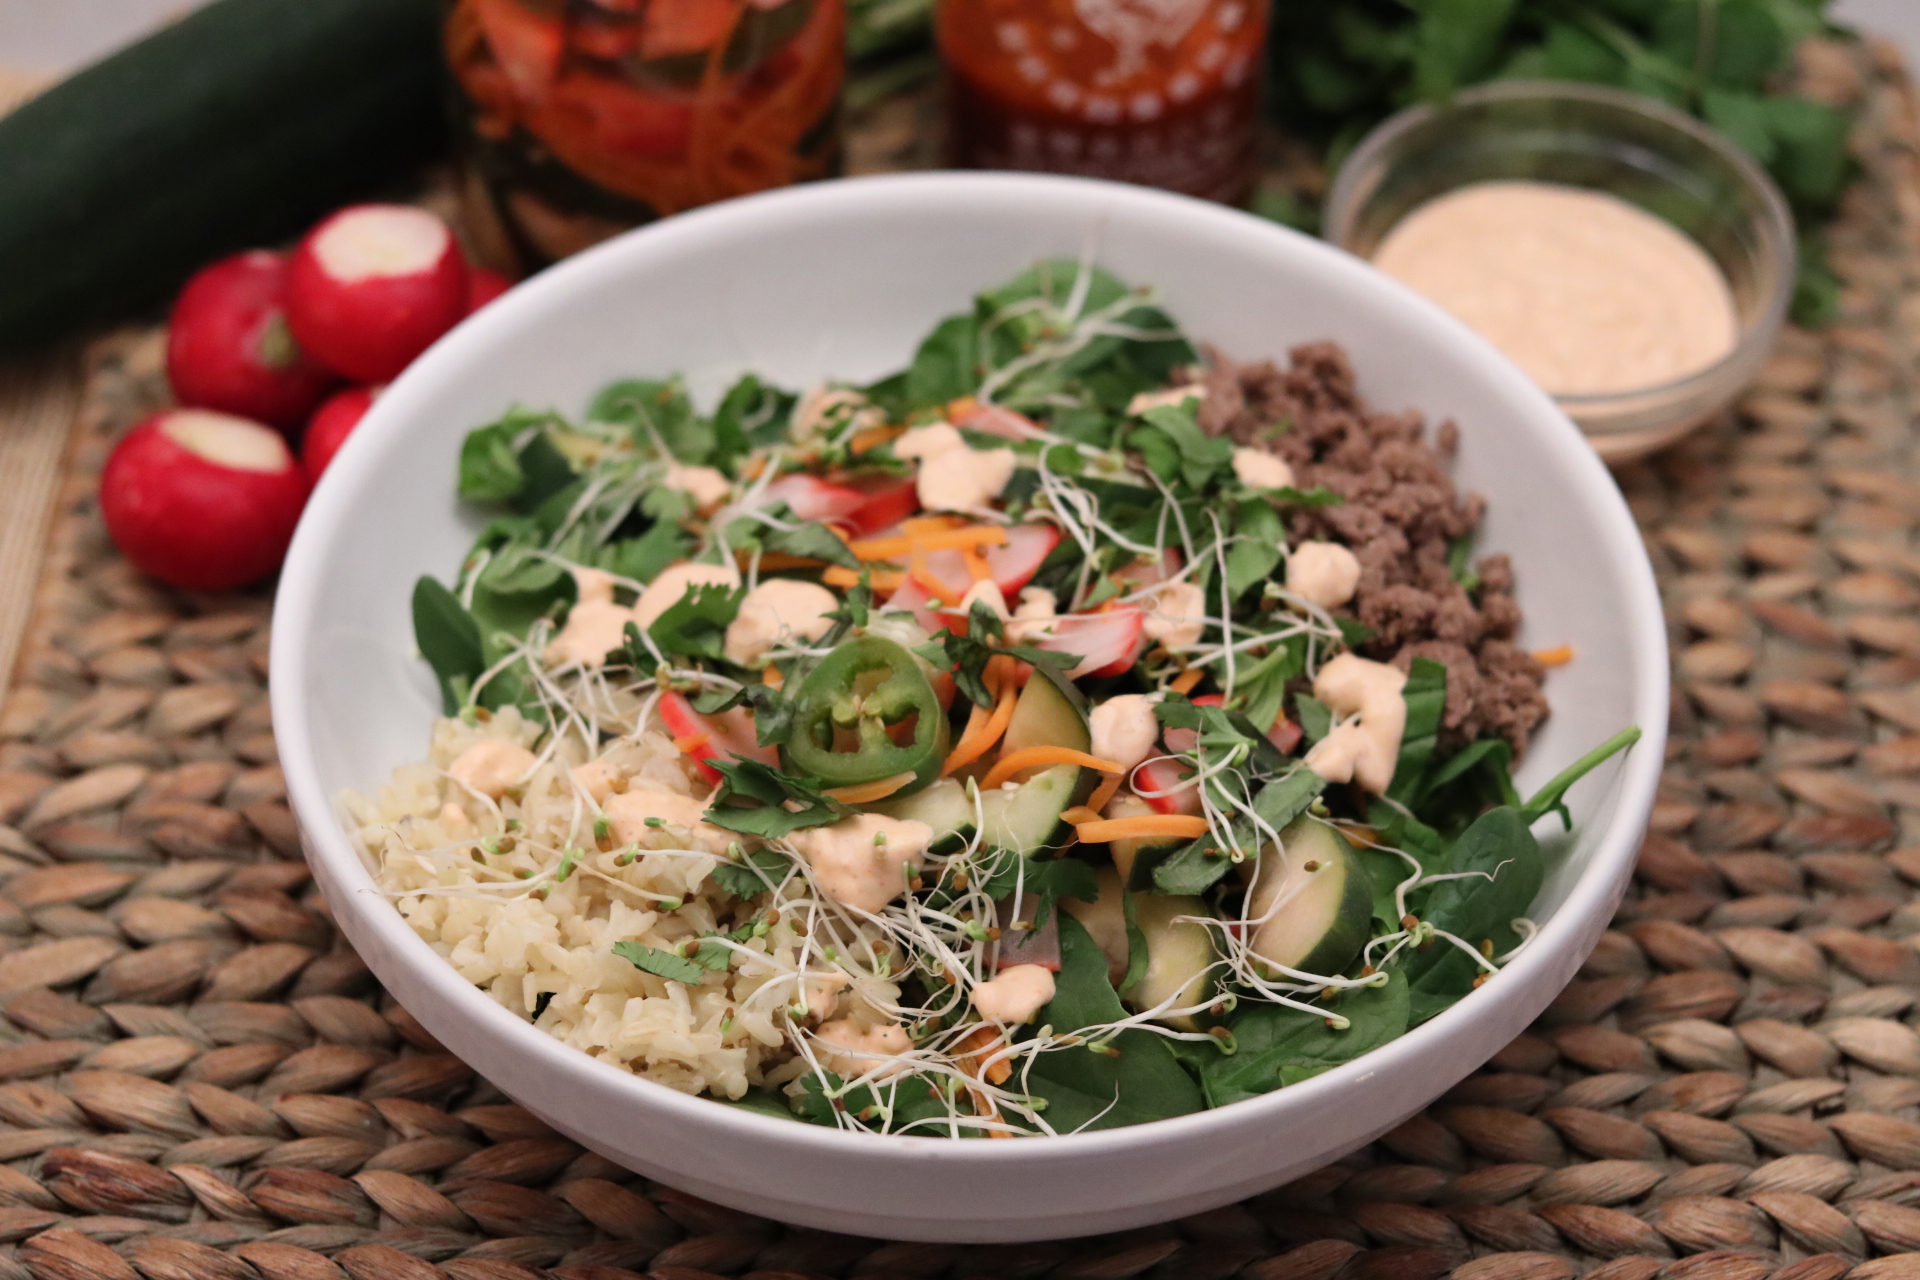
 Salads: they add a nice crunch and fresh flavor to salads, and there are plenty of salads to pick from on the website. Try them on the Banh Mi Burger Bowl, the Super Immune-Boosting Citrus Salad, or the Orange Farro Salad.
- Bowls: a perfect topping for your favorite Buddha bowls. Check out the Thai Quinoa Bowl, the Chicken Teriyaki Bowl, or the Summer Bounty Buddha Bowl.
- Sandwiches and Wraps: the add a nice texture and freshness to sandwiches and wraps like the No Chicken Needed Chickpea Salad Sandwiches, the Banh Mi Sandwiches, or the Vietnamese Lettuce Wraps.
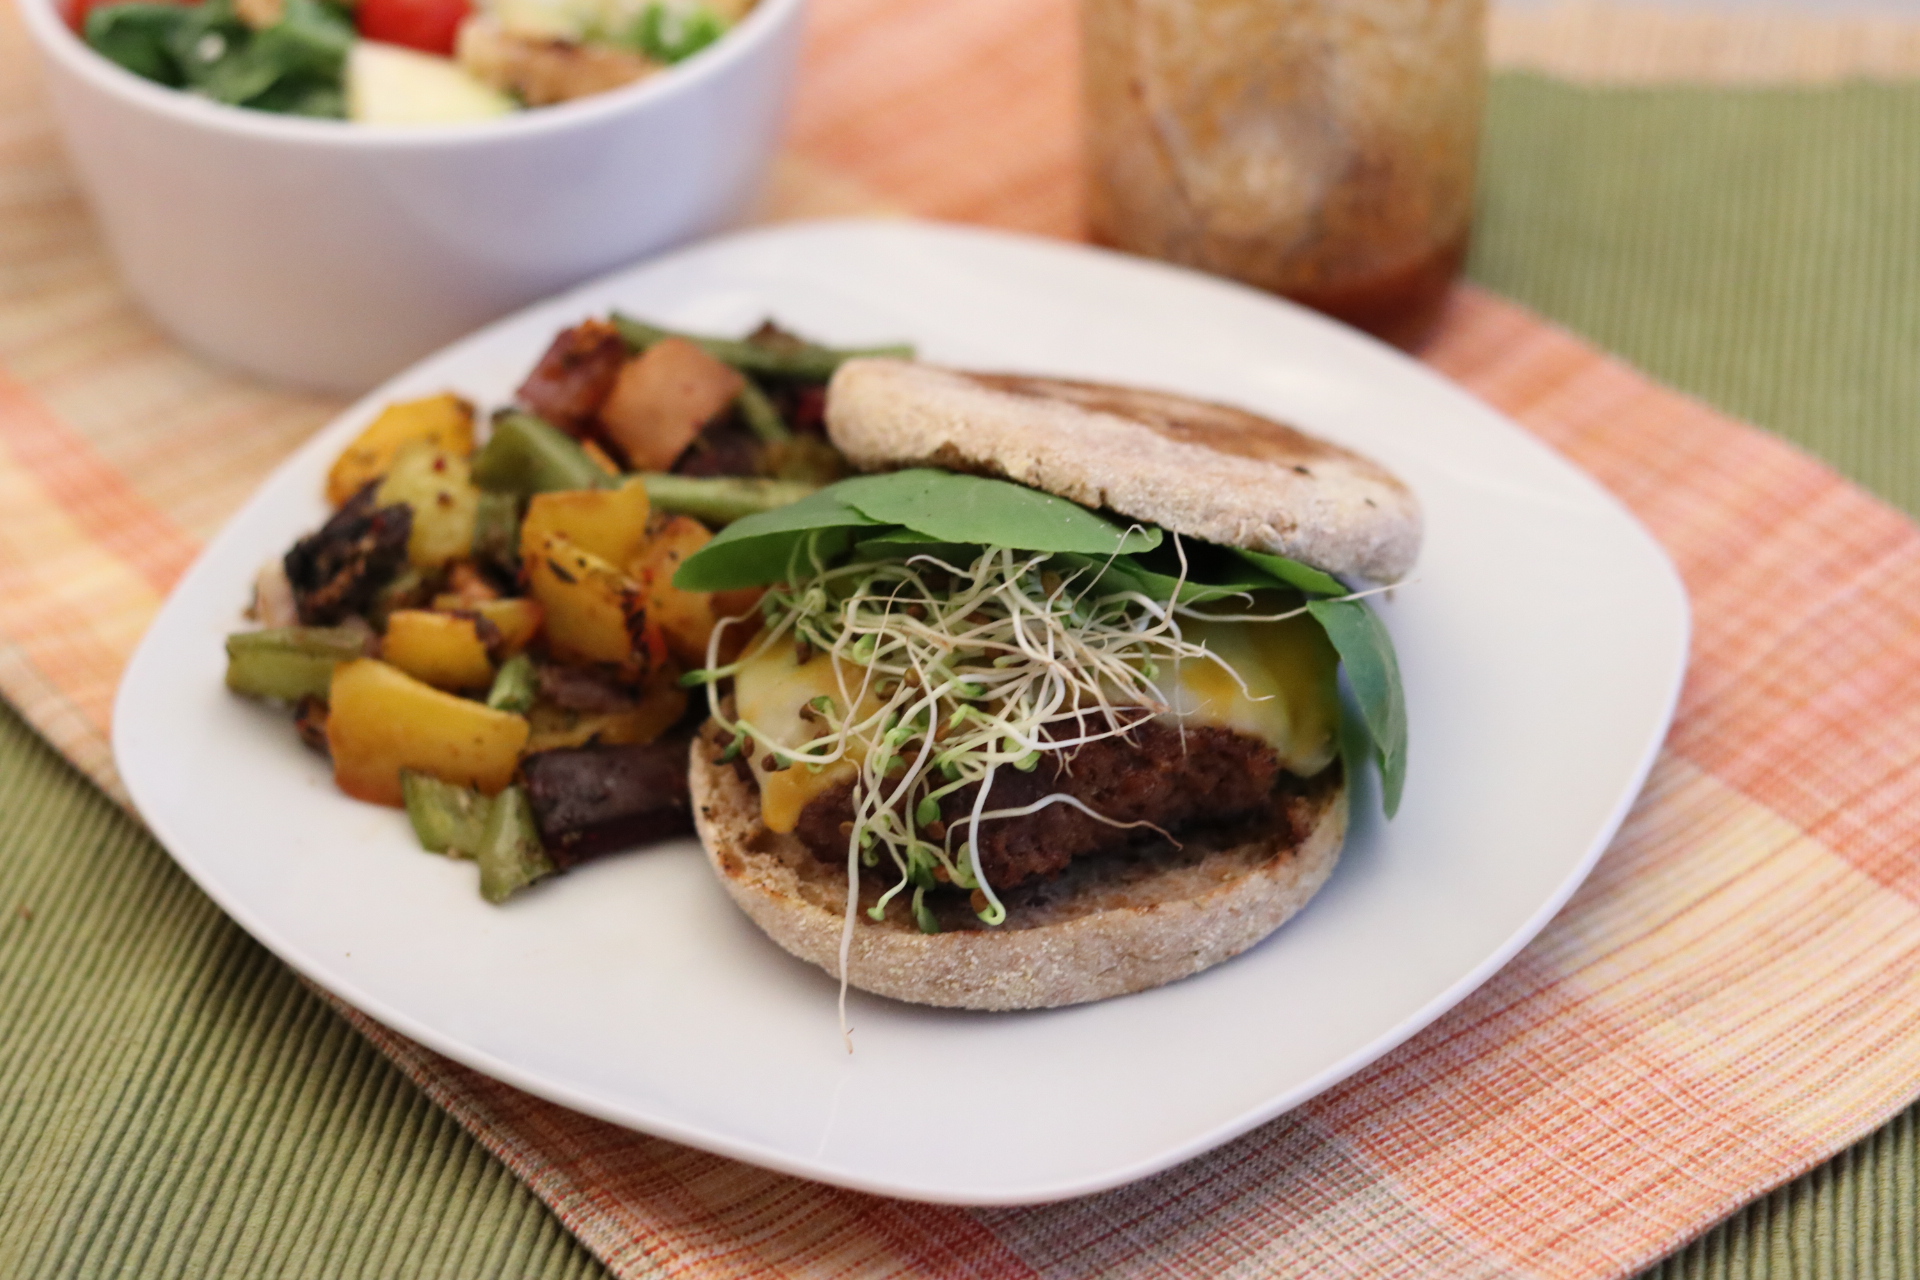
- Burgers and Pizza: you may be surprised how a few sprouts can add even more character to your burger or pizza. Try them on the Hoisin Burgers, the Veg Out Flatbread Pizza, or the Dominican Inspired Burgers.
- Stir-Fries: the provide a little texture, a little visual appeal, and a nutritional boost. Perfect for the Soba Noodle Stir-Fry, the Zesty Shrimp and Broccoli Stir Fry, or the Sweet and Sour Chicken Stir Fry.
- Soups: add the sprouts just before serving for a unique crunch in soups like the Mushroom and Barley Soup, the Slow Cooker Chicken Pho, or the Quinoa Corn Chowder.
Whether you grow your own or buy them at your local store or farmers’ market, we hope this inspires you to give sprouts a try! Both sprouts and microgreens will provide a fantastic boost of nutrition, texture and flavor for all your favorite meals!
Please share your sprout growing successes with us!
Leave A Comment