 Confession time!
A few years ago, I tried “nice cream” (also known as banana ice cream) and I wasn’t crazy about it. In the months that followed, especially hearing others share their great experiences, I knew I needed to heed the advice we give everyone else and try it again!
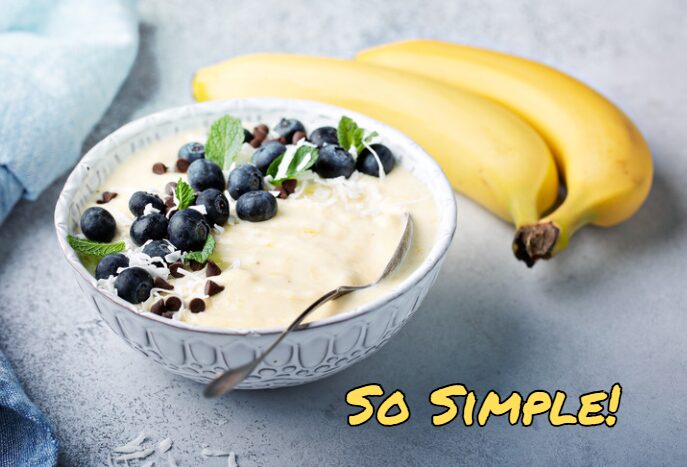
I am not sure what I was thinking before, but when I tried it again, my mind was changed (to be more accurate, my mind was blown!). Every variety we made was delicious, thick and creamy – a refreshing summer treat that is also loaded with nutrients! (We discovered the key is adding a little milk to create that soft serve ice cream creaminess!)
Plus, if you or your kids think you don’t like bananas, don’t worry – adding other flavors really hides the banana taste. And, if that wasn’t enough, it’s super-affordable!
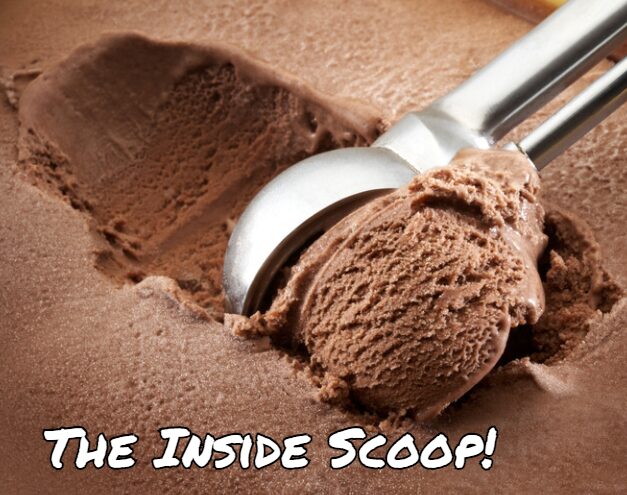
So, what is “nice cream?”
 Really, all you need to make banana ice cream is one single ingredient…frozen bananas.
Now, we aren’t exactly sure where the name “nice cream” came from. The Urban dictionary defines nice cream as “a fruit-based soft serve ice cream that is dairy free and gluten free, primarily made with frozen bananas.” It is absolutely a great, healthy, dairy-free alternative to traditional ice cream.
In our experience, adding a little milk, nut milk or coconut milk (about ¼ cup per 2 to 3 bananas) helps to create an even creamier texture. However, you don’t want to add too much milk, or it becomes more like a smoothie than the creamy, dreamy texture you are looking for. Then, a few other ingredients will easily take it to the next level of flavor!
A few tips for banana ice cream success:
 For the best flavor, freeze ripe bananas. The riper the banana the better, but you don’t want it to be overripe either. Ripe bananas will provide a nice, sweet flavor and will also help produce the right consistency.
- Remember to peel before freezing! No one wants to try peeling a frozen banana. Yes, I hate to admit it, but I made this mistake once and learned my lesson! Freeze your peeled bananas for at least 30 minutes to one hour or longer.
- Cut the banana before freezing. Cutting the banana in half or fourths will let you easily determine how many bananas to use and will also make it easier to fit them in your food processor or blender. Or, depending on your blending device, slicing the banana before freezing can also help make blending easier.
- For best results, use a food processor or Ninja to blend the ice cream. Blenders may be challenged to blend frozen fruit, so you may need to let them thaw slightly before using.
- Keep in mind, bananas thaw quick! Blending may be easier if you let the bananas sit at room temperature for 3-5 minutes before blending.
- Scrape the sides! As you are blending, you may need to stop occasionally and scrape the sides. It may take a few minutes of blending to get the nice, creamy consistency.
- It’s all about personal preference! Remember, everyone has their favorite consistency and flavor of ice cream so adjust the milk and other ingredients to your preference.
- Get creative! We will give you a few ideas for flavor combinations. Mix it up and get creative…the possibilities are endless! Some excellent add-ins or toppings include nuts, nut butters, fresh fruit, cacao nibs, dark chocolate chips, unsweetened shredded coconut, honey, spices (like cinnamon, cardamom or ginger), fresh herbs (like mint) and more!
- Enjoy the moment! In our experience, it’s best to enjoy your creation as soon as you make it. If you don’t eat it all, you can freeze it, but it will lose some of its creamy consistency. If you freeze it, you can let it sit for 5-10 minutes before serving, and re-blend it if desired. Also, we haven’t tried this, but some say adding just a little alcohol before freezing can make it easier to scoop. We might just have to test this tip!
Of course there are fancier gadgets like the Yonanas and Ninja Creami that some of our Eat REAL America members really enjoy, although Zonya and I have not purchased these specialty gadgets…Ninjas, food processors, and blenders can work great too!
How do you make it?
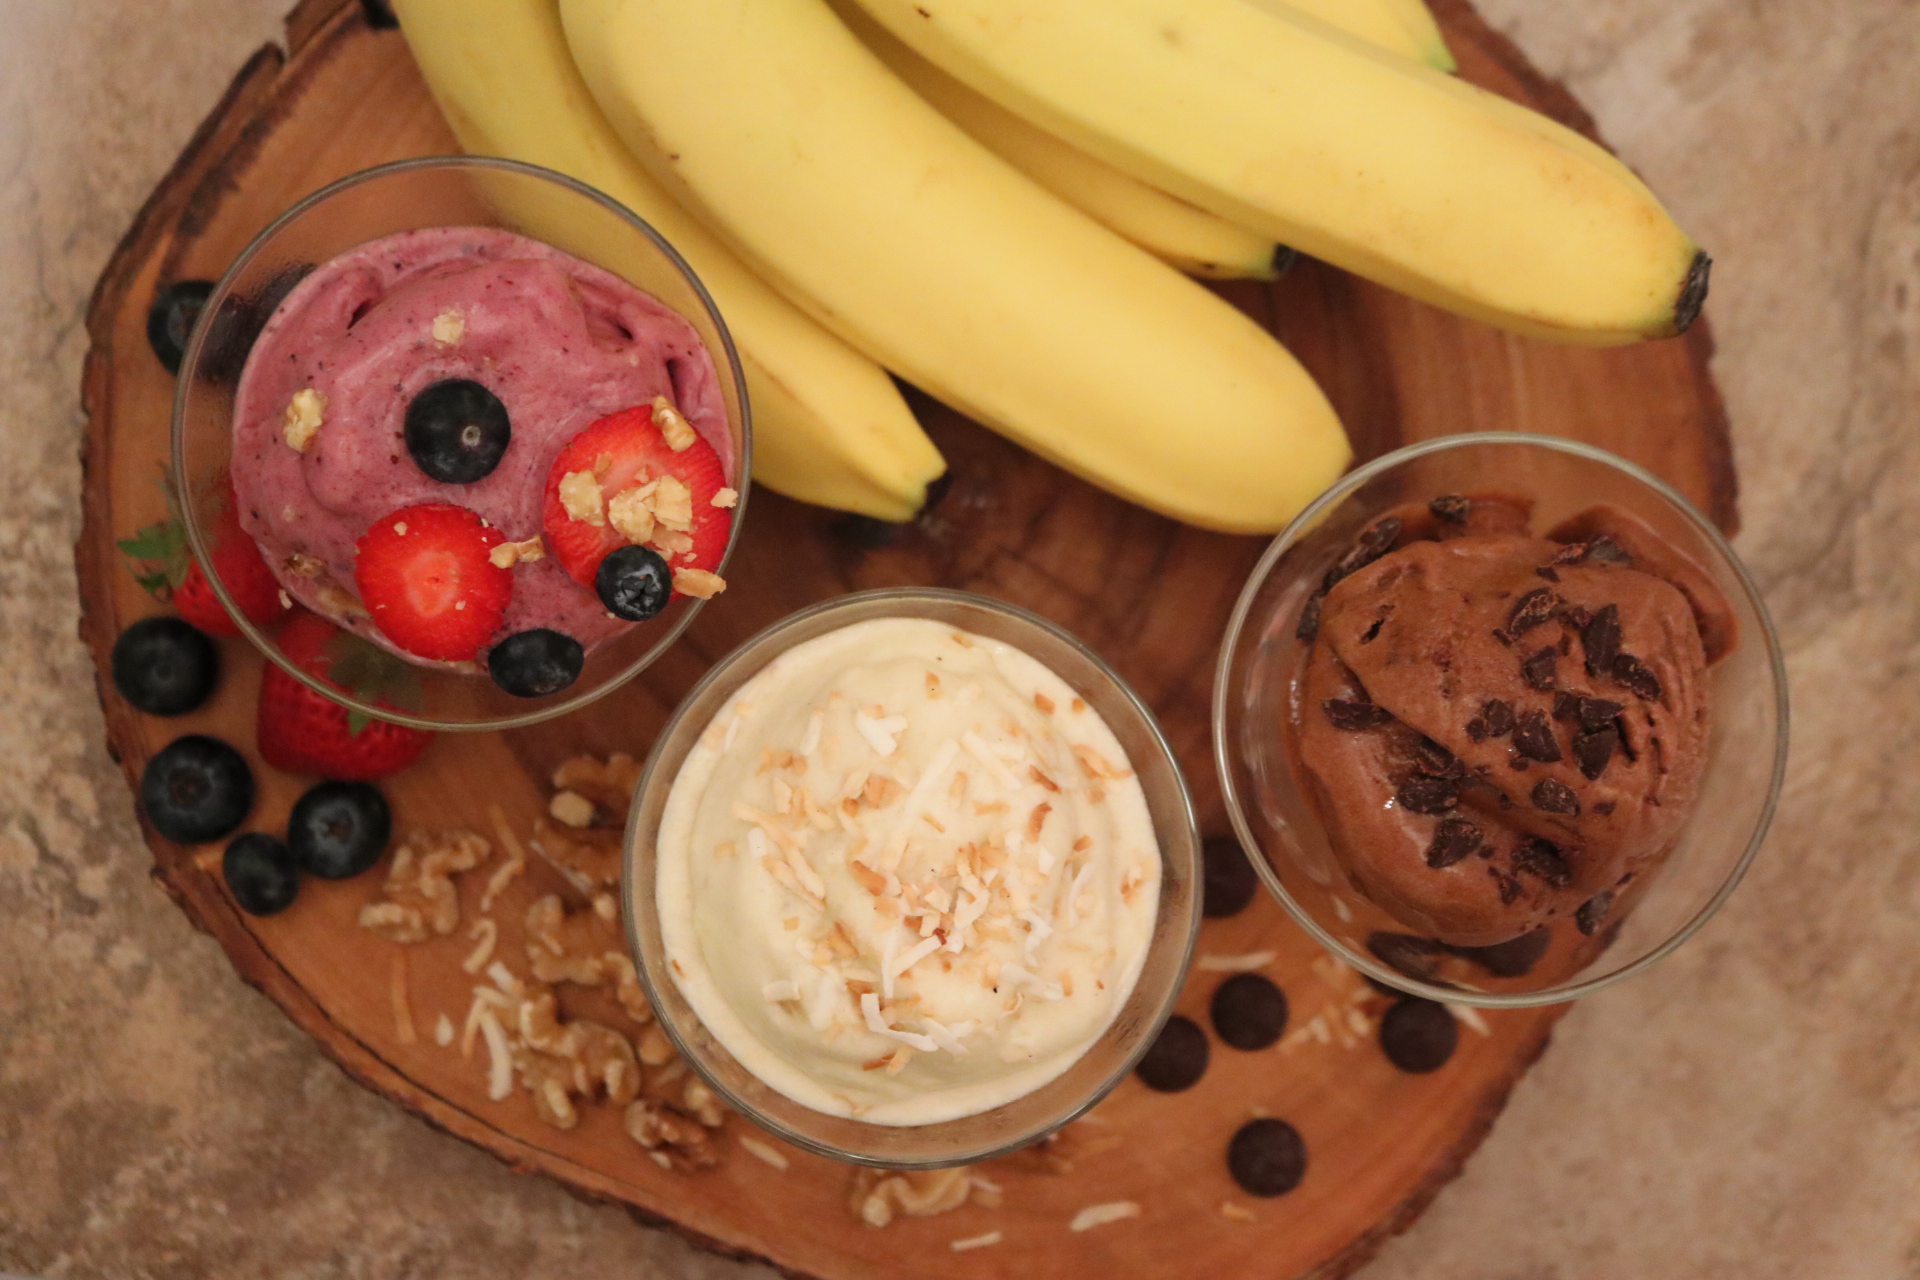
Here are a few delicious recipe ideas you will find on the website:

- 3 frozen bananas
- 1/4 cup of milk (almond, skim or soy milk, add 1-2 more Tbsp if desired)
- 3 Tbsp cocoa powder
- 1/4 tsp vanilla extract
Add to a food processor or blender and blend until smooth, using a spatula to scrape down the sides occasionally. Serve topped with dark chocolate shavings or chips if desired. Makes about 2 cups.

- 3 frozen bananas
- 1/4 cup coconut milk (add 1-2 more Tbsp if desired)
- 1 cup frozen pineapple
- 2 Tbsp unsweetened shredded coconut
- 1/4 tsp vanilla extract
Add to a food processor or blender and blend until smooth, using a spatula to scrape down the sides occasionally. Serve topped with toasted coconut if desired. Makes about 2 1/2 cups.

- 3 frozen bananas
- 1/4 cup milk (almond, skim or soy milk, add 1-2 more Tbsp if desired)
- 1 cup frozen mixed berries (or berry of your choice)
- 1/4 tsp vanilla extract
Add to a food processor or blender and blend until smooth, using a spatula to scrape down the sides occasionally. Serve topped with slices of fresh fruit if desired. Makes about 2 1/2 cups.
Other flavor combos we love:
- Peanut Butter Turtle Parfait – this one is loaded with peanut butter caramel flavors!
- Mint Chocolate Chip – add the following to the chocolate version: 1/4 cup of dark chocolate chips and 1/4 cup fresh mint (or 1/4 tsp of mint extract). Or for a GREEN version, blend 3 frozen bananas, 1-2 handfuls of fresh spinach leaves, 1/4 cup fresh mint leaves (or 1/4 tsp of mint extract), and 1/4 cup of almond milk. After blending until smooth, add 2 Tbsp of dark chocolate chips and blend 15 seconds more.
- Peanut Butter Chocolate – add 2 Tbsp of natural peanut butter to the chocolate version.
- Black Cherry Chocolate – substitute one of the bananas for 1 cup of frozen cherries in the chocolate version! Watch this video as Zonya shows you how!
If you haven’t already, give this sweet treat a try and please let us know what you think!
Or share with us your favorite flavor combination!
I just made the Chocolate Banana Ice Cream for my teenage son and myself. We love this! My son loves Chocolate Ice Cream and definitely would eat this version again! Thanks for sharing about the Nice Ice Cream.
Thank you so much for sharing! We love to hear about the kids and teenagers embracing REAL food! Now, you can mix it up and experiment with other flavors and varieties!
We honestly do NOT buy ice cream anymore. Someone came over and had brought the very yummy Everyday Fruit Crisp and looked at us like…”you have vanilla icecream to go on it don’t you?” to which I said of course we do! one moment please…and whipped out the food processor, frozen bananas (which we are constantly replenishing) and made the vanilla version (just bananas, milk and vanilla). It was PERFECT on top! and one guest needed to be “dairy free” and this was perfect!
Thanks for the inspiration. I am a sucker for ice cream on a long hot day and thanks to this tip, I will try banana ice cream again (as soon as I get to the store and buy bananas)!!!!!!!!!!
Once you try it please let us know what fantastic flavor combination you come up with and like best! Enjoy!
I made the decadent cherry chocolate NICE cream. Fantastic. I did get freezer burn in my upper mouth palate due to my being a piggy and eating most of it. I did find that cutting the banana in half and freezing it prevented it from browning in the freezer. If I cut it in slices then the banana turned a very dark brown or black. Next time I will share the NICE cream or cut the recipe in half since I can’t stop eating it