 Have you been telling yourself…
“I am going to make some homemade granola,”
but for one reason or another, you keep putting it off?
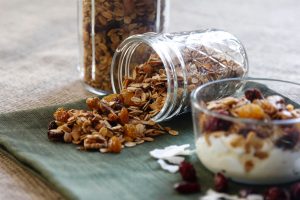
Granola can be an ideal snack…paired with yogurt and fruit, or enjoyed with milk for breakfast, and believe it or not, making your own is easier than you might think!
Why?
 Granola is extremely versatile, inexpensive to make, and is perfect to take on-the-go — you don’t have to worry about keeping it refrigerated, or that it will get smashed and crumbled.
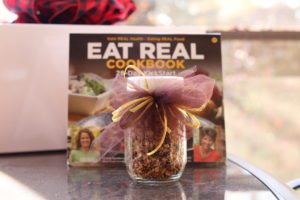
It also makes a great gift, especially in a thoughtfully decorated mason jar. And, accompanied by an Eat REAL Cookbook, this is the gift of health that keeps on giving! Right now we are offering our best discount of the year 15% …use coupon code FESTIVE15 when ordering and make shopping easy this year!
Where did the idea of granola come from?
 In 1863, Dr. James Caleb Jackson, a nutrition advocate, created the first recipe for what would become granola. What he called granula, was basically unsweetened bran nuggets soaked in milk. Dr. Jackson ran a sanitarium in Dansville, NY where he believed in vegetarianism and a diet of simple foods. Over time, another health reformer, Dr. John Harvey Kellogg, (sound familiar?) who owned a rival sanitarium in Michigan, allegedly stole Dr. Jackson’s recipe. When Dr. Jackson sued him, he changed the name from granula to granola.
Dr. Kellogg and his brother, Will Keith Kellogg, experimented with this recipe, which led to the creation of corn flakes. Dr. Kellogg, who was a Seventh Day Adventist wanted to keep his cereals sugar-free, but his brother Will, insisted on sweetening them, and they parted ways. I am sure you can guess what happened next…Will went on to launch the Kellogg Company, which we know today as the producer of cereals like Fruit Loops and Cocoa Krispies.
Over the years, granola recipes have evolved and become a mainstream product, with many companies offering their own sweetened versions.
What are the health benefits?
Granola in general is extremely nutritious because it offers a variety of vitamins and minerals:
- Fiber! It contains both soluble and insoluble fiber, which helps regulate the digestion of food, soaks up bad cholesterol and provides so many other health benefits
- Lightweight yet filling, granola is low in cholesterol and sodium
- Includes powerful antioxidants such as manganese, which can help prevent cancer and heart disease
- High in potassium and low in sodium, granola helps with hypertension and lower blood pressure
- The iron found in granola can even help prevent anemia
This all sounds “good,” so how can it be “bad?”

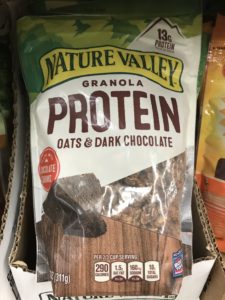 While the pre-packaged granolas at the store have gotten better the past few years, many still include substantial amounts of added sugar and refined oils. Some have more sugar than a Krispy Kreme donut!
For example, here are the ingredients from one of the pre-packaged varieties:
Whole Grain Oats, Sugar, Soy Protein Isolate, Semisweet Chocolate Chunks (sugar, chocolate liquor, cocoa butter, natural flavor, soy lecithin), Canola Oil, Tapioca Syrup, Molasses, Rice Starch, Cocoa Processed with Alkali, Soy Lecithin, Salt, Baking Soda, Natural Flavor. Vitamin E (mixed tocopherols) Added to Preserve Freshness.
This particular variety has 17 grams of added sugar per serving and, as you can see, there are quite a few ingredients going on!
What is the benefit of making your own?
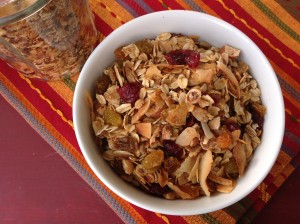 With homemade granola, there are several big benefits.
For starters, the taste is so much better! Plus, it is fresher and you get to enjoy the scrumptious aromas in your kitchen! And, the added bonus with homemade, you know EXACTLY what is in your granola!
One of the best benefits? You will save some money since homemade is less expensive than most of the store-bought versions.
When you make your own, you are in control of the ingredients, including the amount of sweetener and the type of oil you use…you can customize your granola just the way you like it! Don’t feel like you need to have a specific recipe…here is a formula to use as a guide:
Homemade Granola Formula:
3 cups of oats (old fashioned rolled oats)
1 3/4 cups of nuts and seeds
1/4 cup natural sweetener
1/4 cup of oil
1 tsp spices and/or extract
1/2 tsp salt (OPTIONAL)
2 egg whites (lightly beaten until foamy, OPTIONAL)
1/4 to 1/2 cup OPTIONAL add-ins
- Combine everything and place on a parchment paper lined baking sheet.
- Bake at 300 to 350 degrees for 30-45 minutes, stirring halfway through cooking time.
- Let cool on baking sheet, and then add: 1/4 to 1/2 cup of add-ins such as dried fruit or dark chocolate chips.
Tips for successful homemade granola:
 Old fashioned rolled oats will produce great results (see our coaching tip on oats).
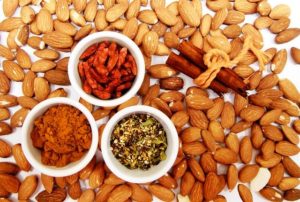
- Nuts and seeds can include your favorites, such as almonds, walnuts, pecans, pistachios, pumpkin seeds, sunflower seeds, uncooked quinoa, flax seeds, chia seeds, plus many more.
- Great choices for sweetener are honey or pure maple syrup.
- Oil can include melted coconut oil, olive oil or avocado oil (unrefined is a good option, if possible).
- Excellent granola spices are cinnamon, nutmeg, ginger and pumpkin or apple pie spice.
- If desired, you can add vanilla extract, almond extract, or get creative and experiment with others.
- Including egg whites in the mixture will help your granola clump together, giving you bite size clusters.
- Other optional add-ins can include canned pumpkin puree, mashed banana and unsweetened applesauce.
A few baking tips:
 Lining your baking sheet with parchment paper will help keep your granola from getting too brown. It will also help the sweetener stick to the oats (vs. the pan) and makes it easier to transfer the granola to your container.
- Crowded, but not too crowded. You want your baking sheet crowded enough that the ingredients will stick together and clump up, but don’t overcrowd it so the oats don’t toast evenly.
- When you stir the granola half-way through the cooking time, you can also press it down with a spatula to help it clump together.
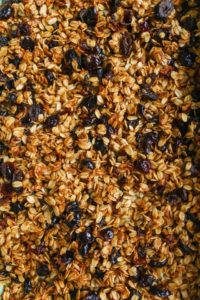
- Baking it at lower temperatures seems to produce the best results…such as 300 or 350 degrees for 30-45 minutes, or until it becomes golden brown and smells fantastic! You don’t want to overbake it…you can cook it until it is lightly golden on top. It may seem like it is not done, but it will crisp up as it cools.
- Once it is done cooking, let it cool completely on the baking sheet…this will help it crisp up.
- If you are adding dried fruit or dark chocolate chips, stir those in after baking when granola has completely cooled.
How do you store it?
Granola stores great in an air-tight container (including mason jars) for a couple weeks. You can also freeze it in air-tight bags or containers for 3 months or more. When enjoying it from the freezer, it is best to let it come to room temperature for 10-15 minutes.
Go ahead and get your granola on!
Try making your own granola and see what you think — we have several ideas on Eat REAL America to get you started!
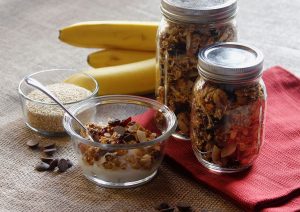
Chocolate Pumpkin Spice Granola
Baked Apples with Oatmeal Cookie Granola
Share with us!
Do you have a favorite granola that you make at home?
 LEARN MORE ABOUT THE NAPKIN!
 Old fashioned rolled oats will produce great results (see our
Leave A Comment